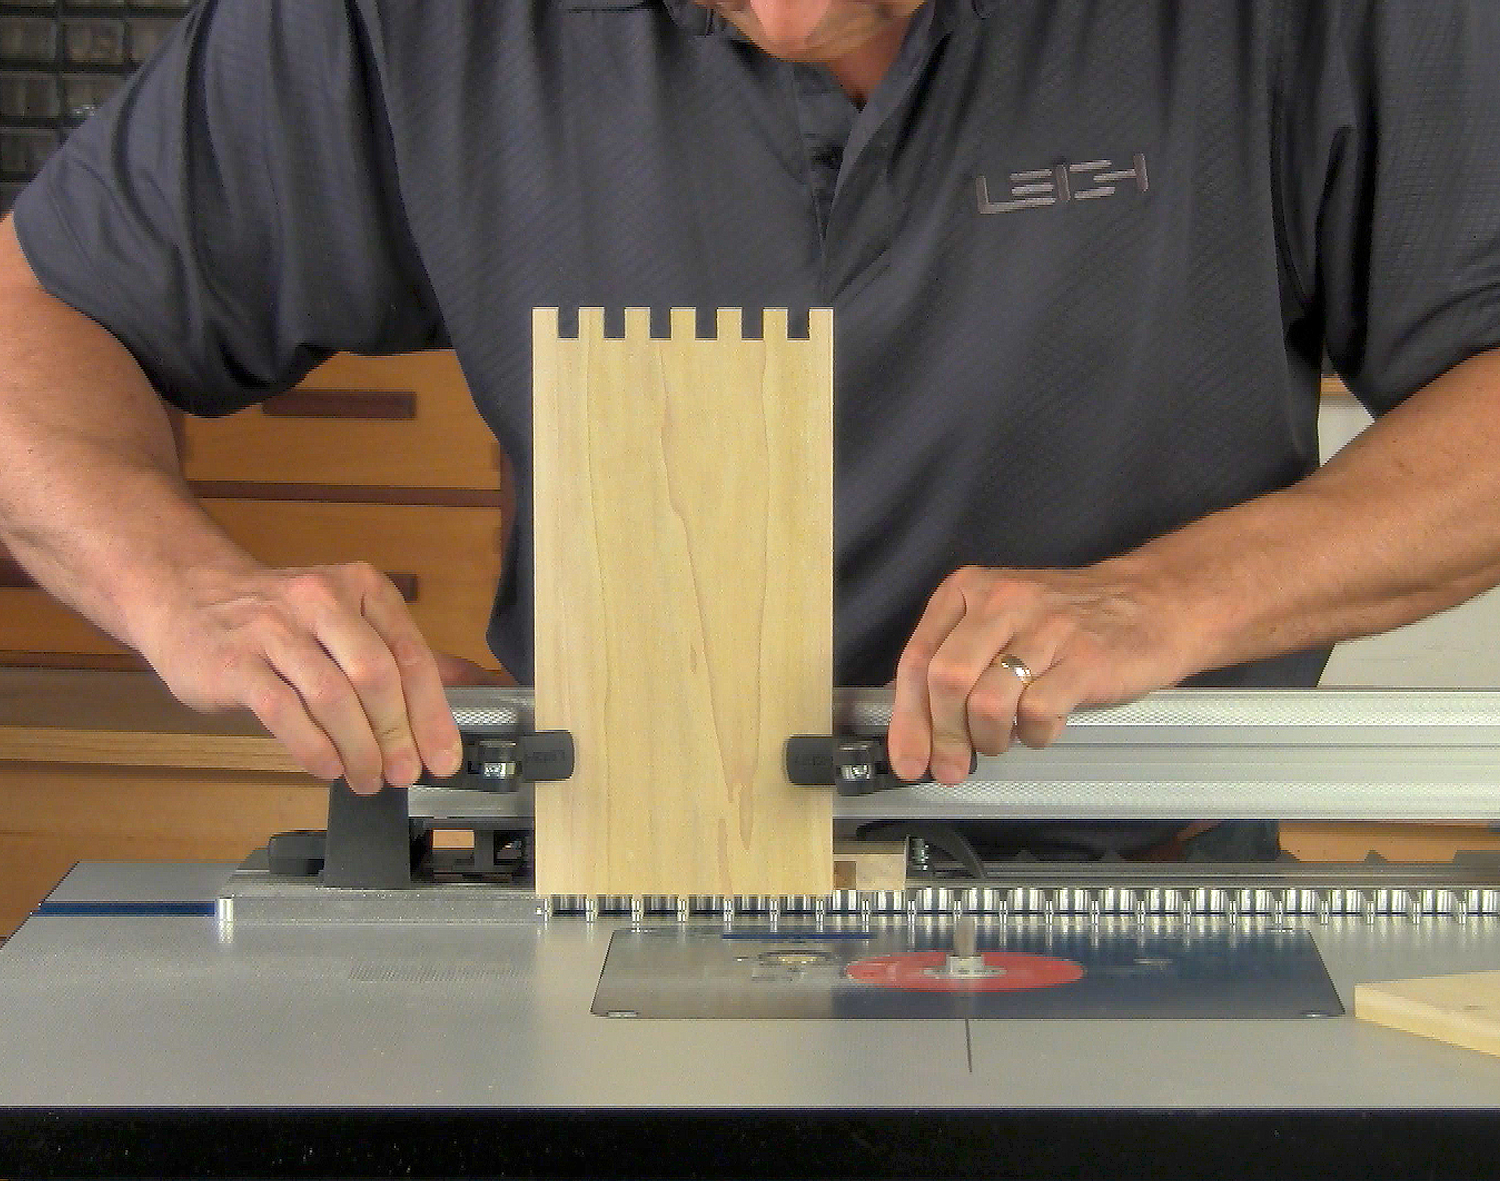
1 The following steps are for 3/8" box joints. Position the frame in the No.1 Box Joints position on the template to rout the pins.
2 Use the supplied Leigh e10 guide bushing (eBush) installed in your router table and the included 3/8” straight bit. Two other optional bits are also available.
3 To set the sidestop, insert the stop rod in the template, and position the sidestop against it.
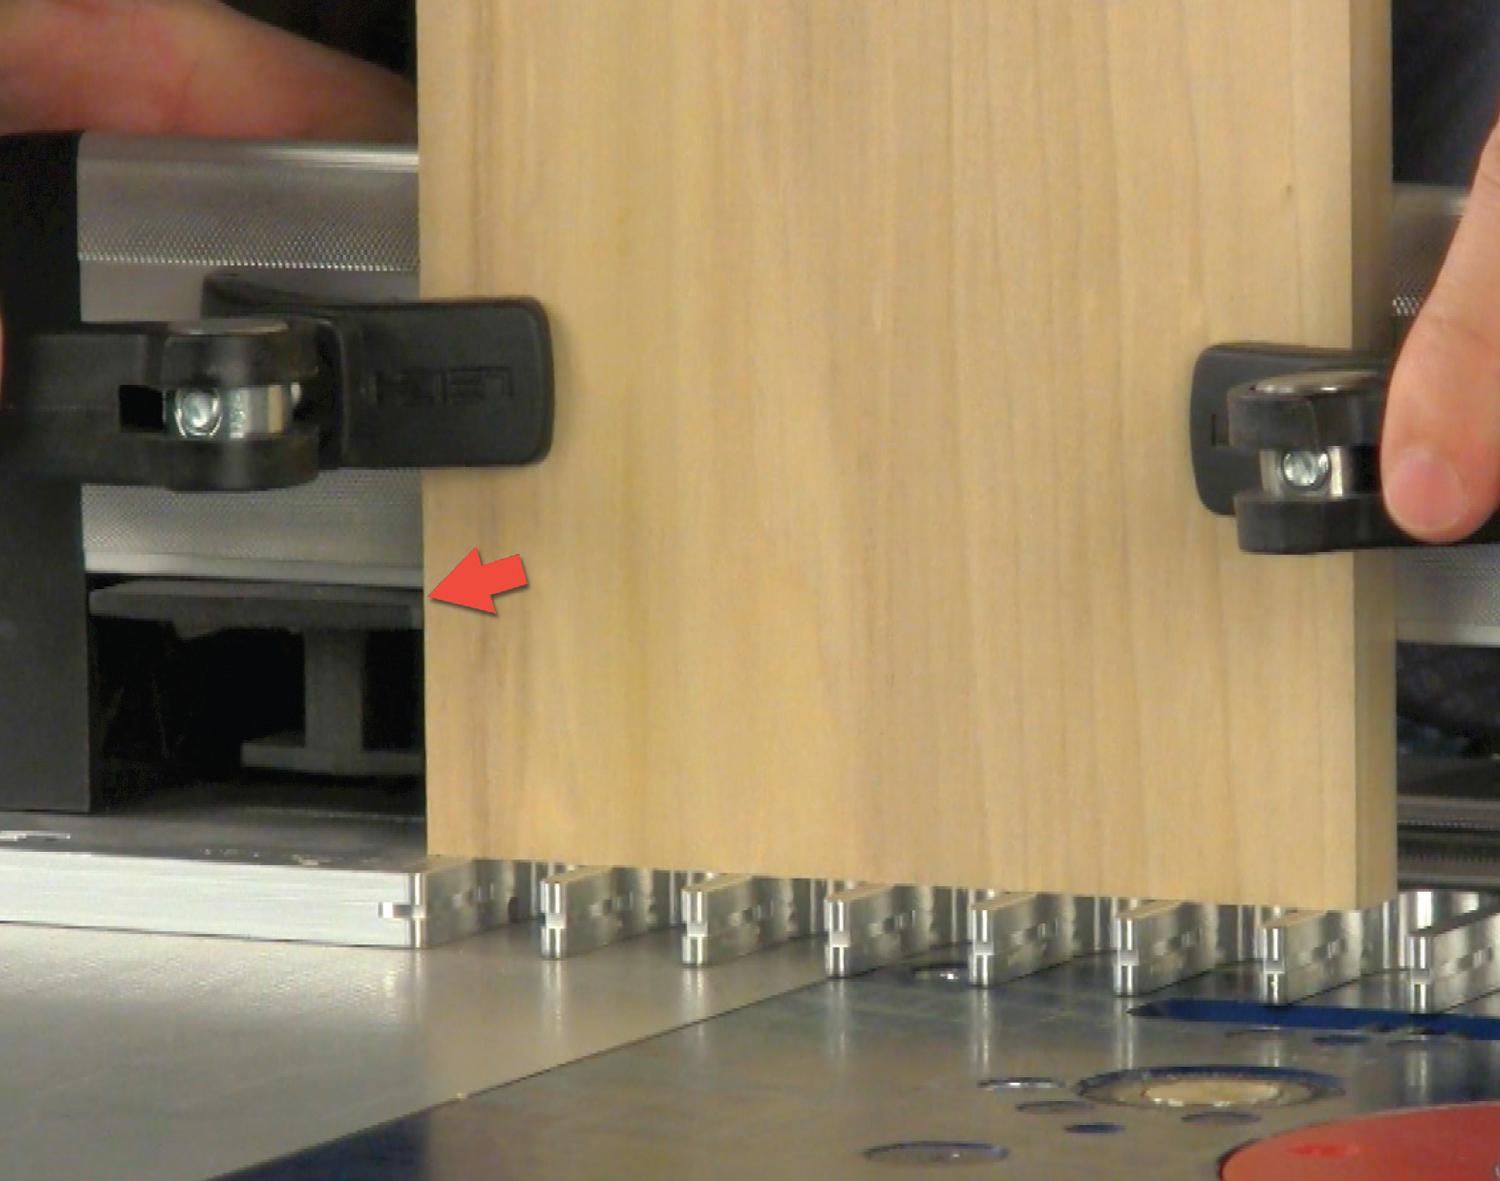
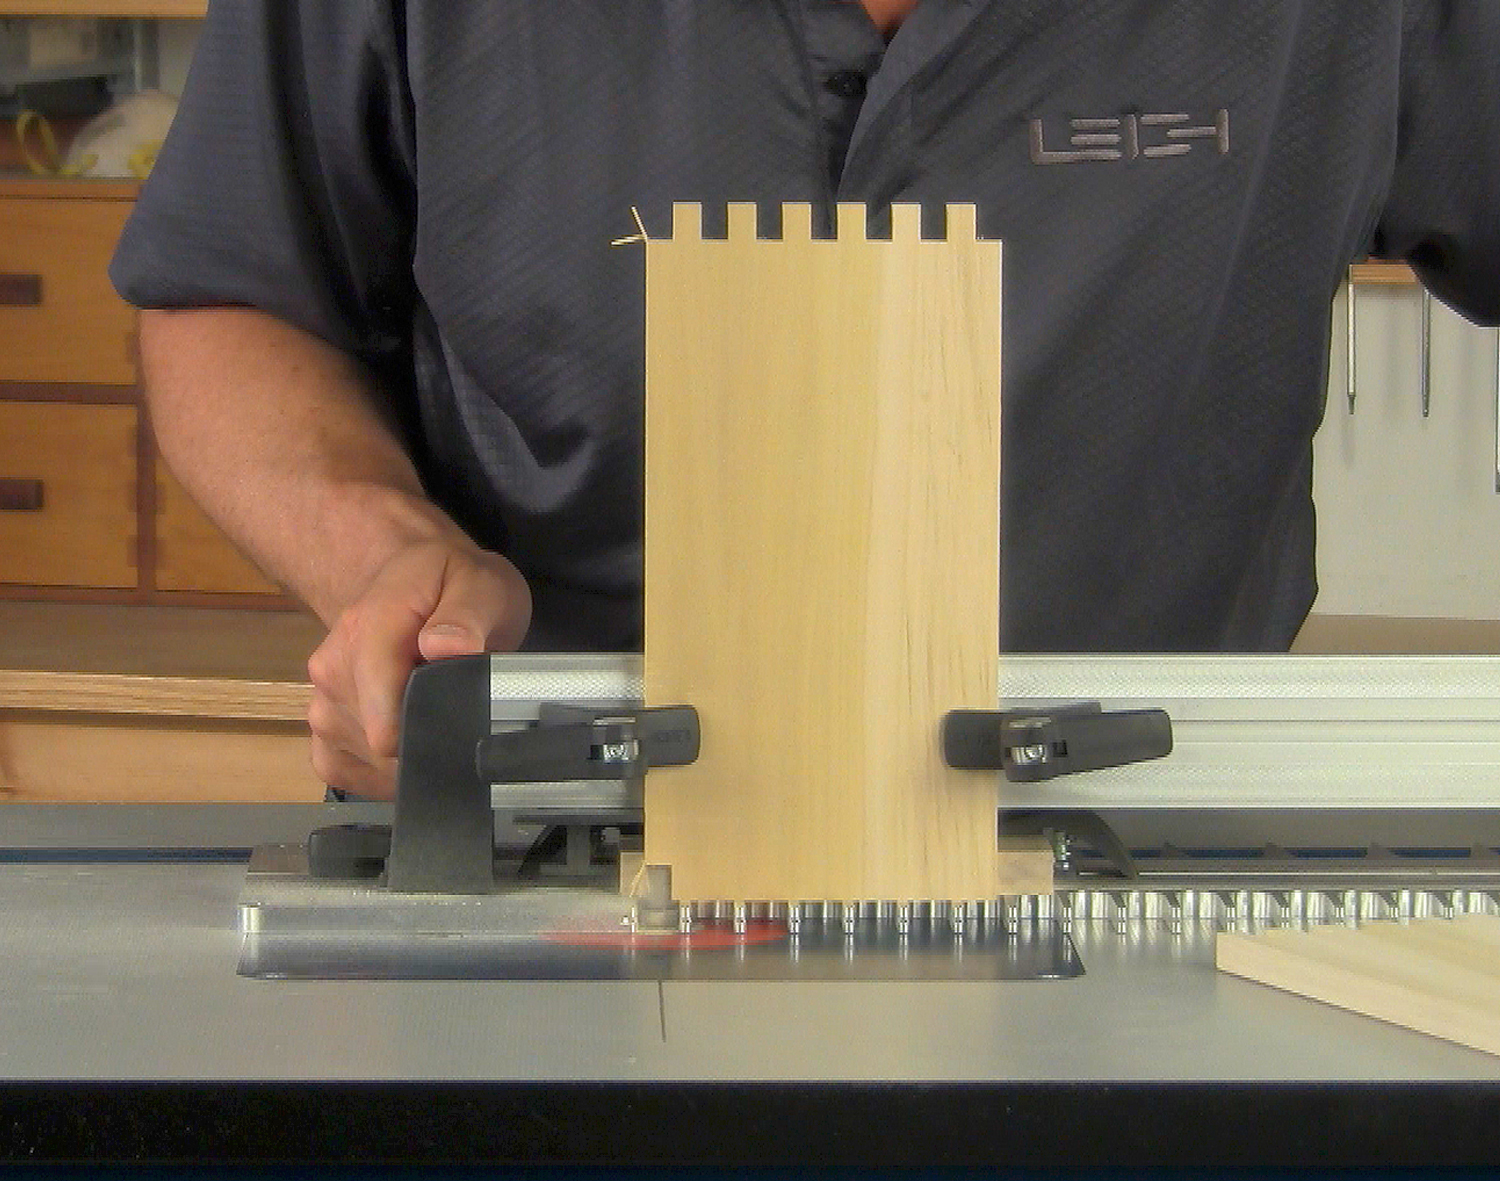
4 Position the pin board on the template against the sidestop.
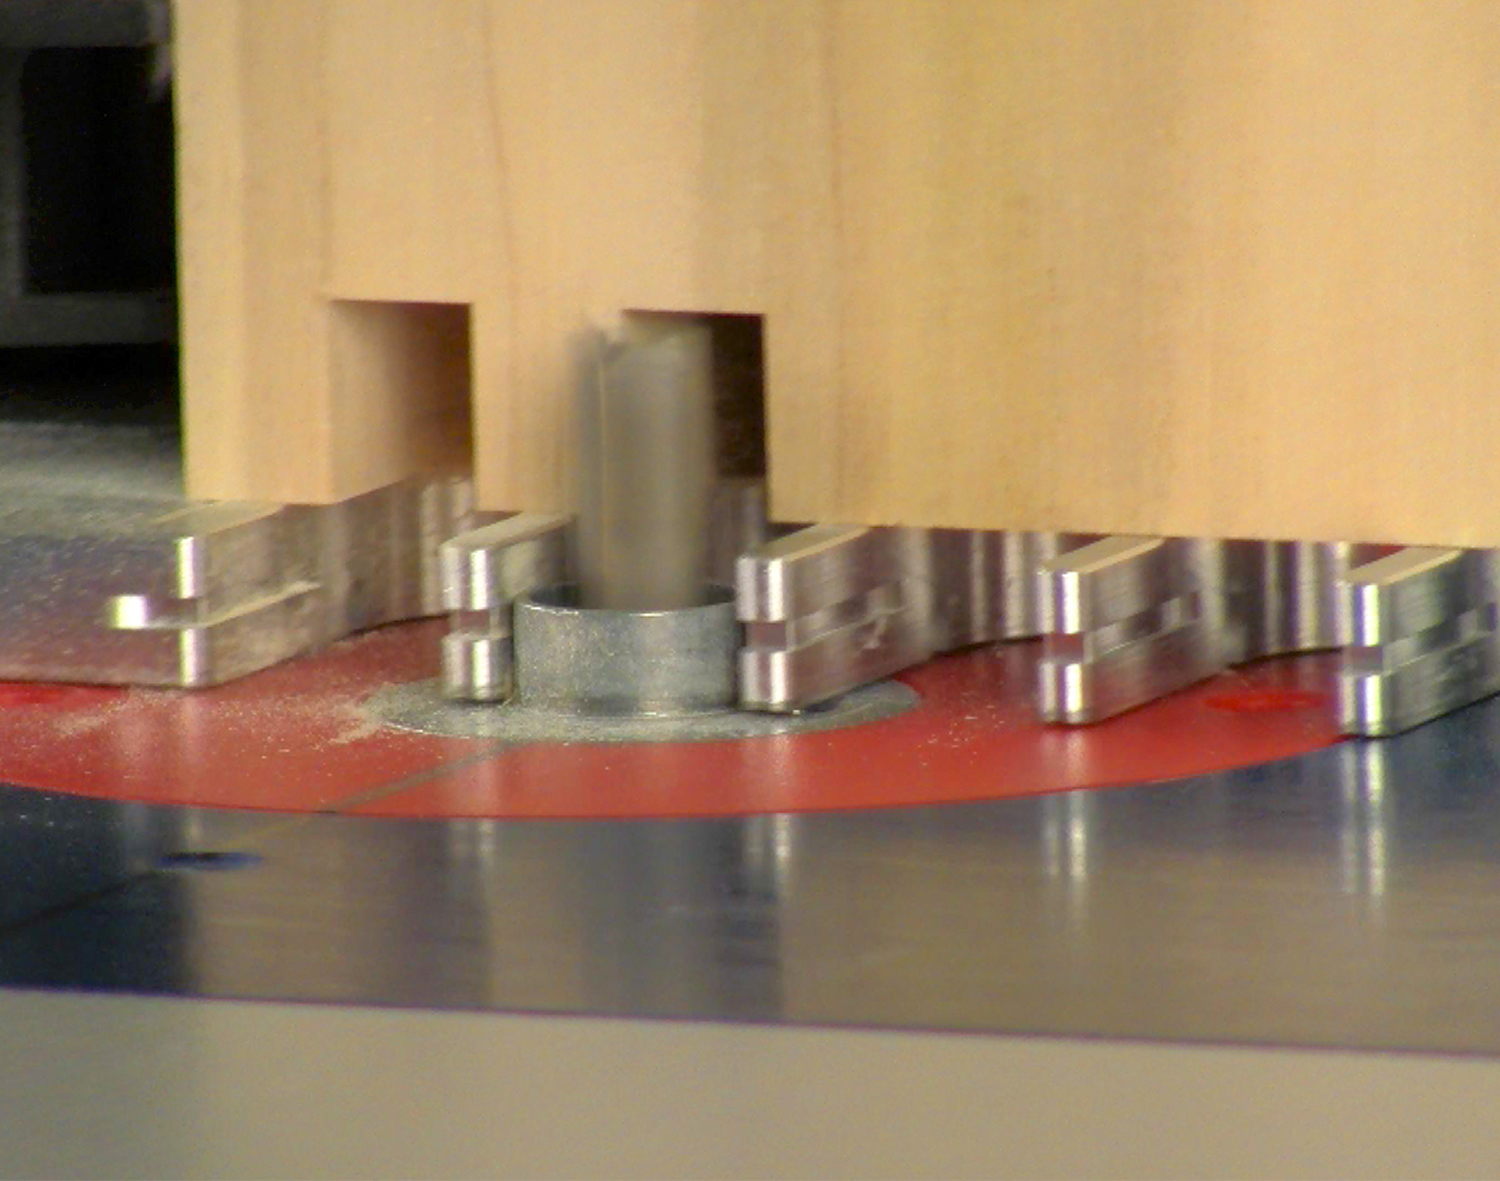
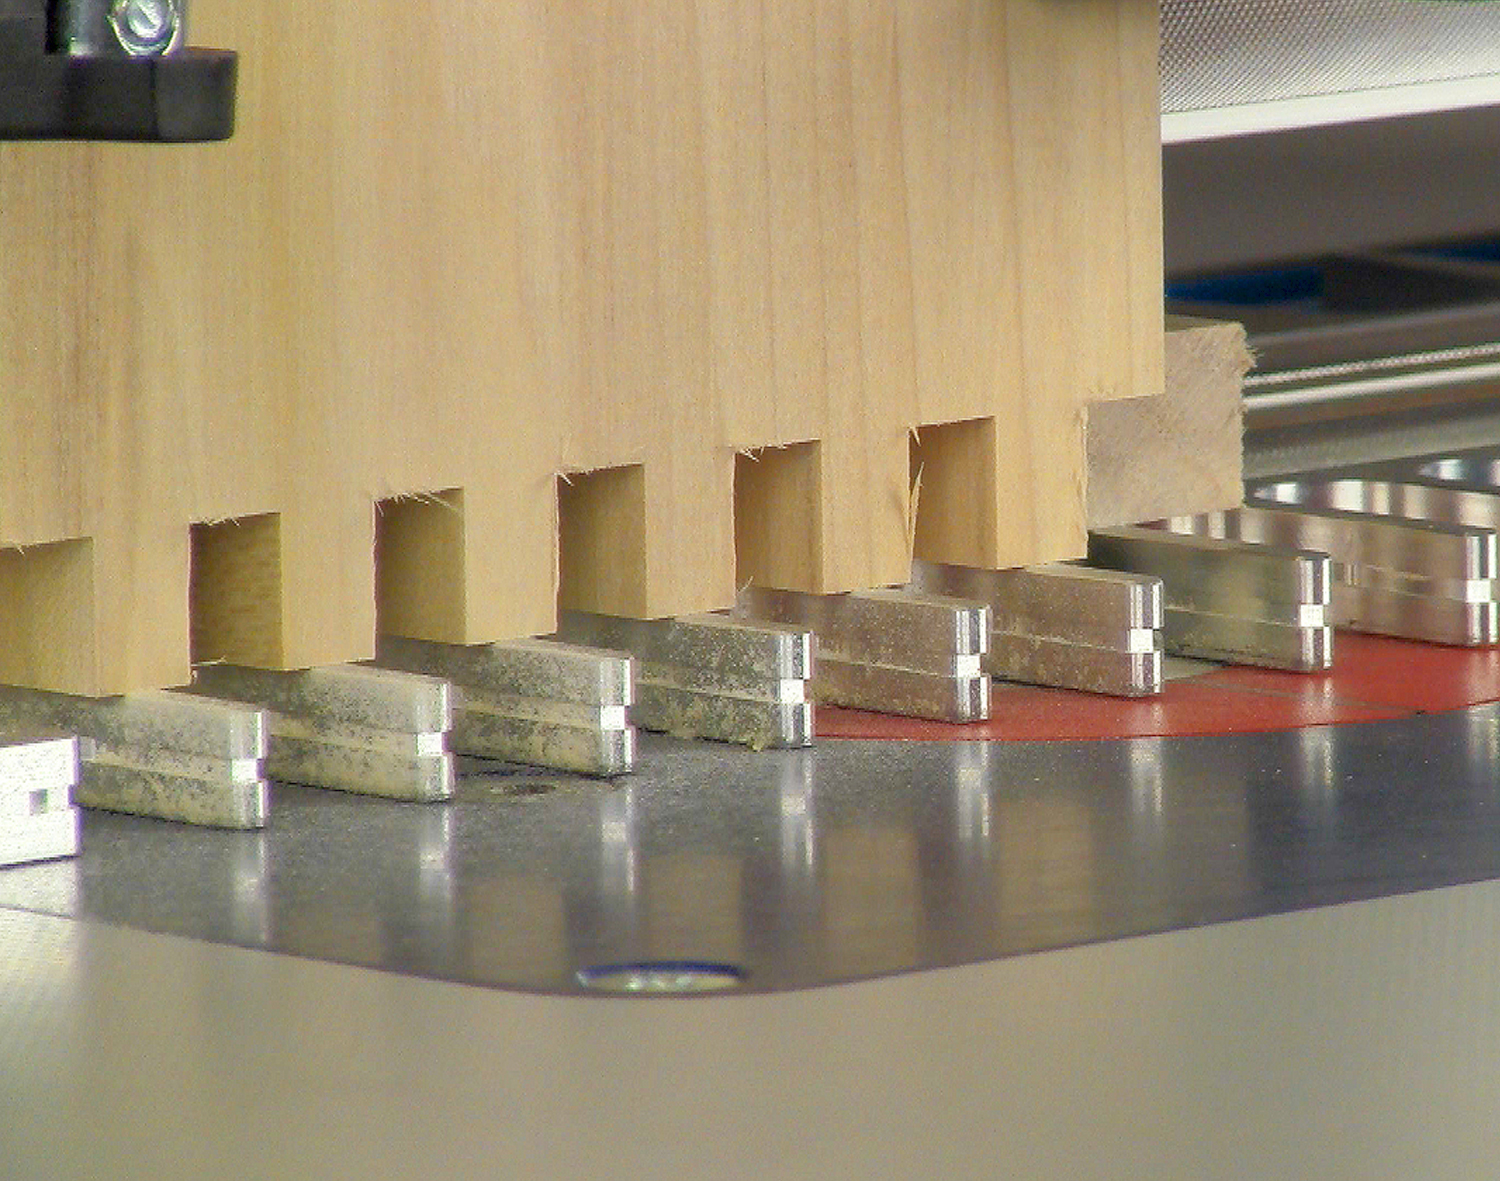
5 Rout into all template openings.
6 Flip the board, end over end, re-clamp with the same board edge against the sidestop, and rout again.
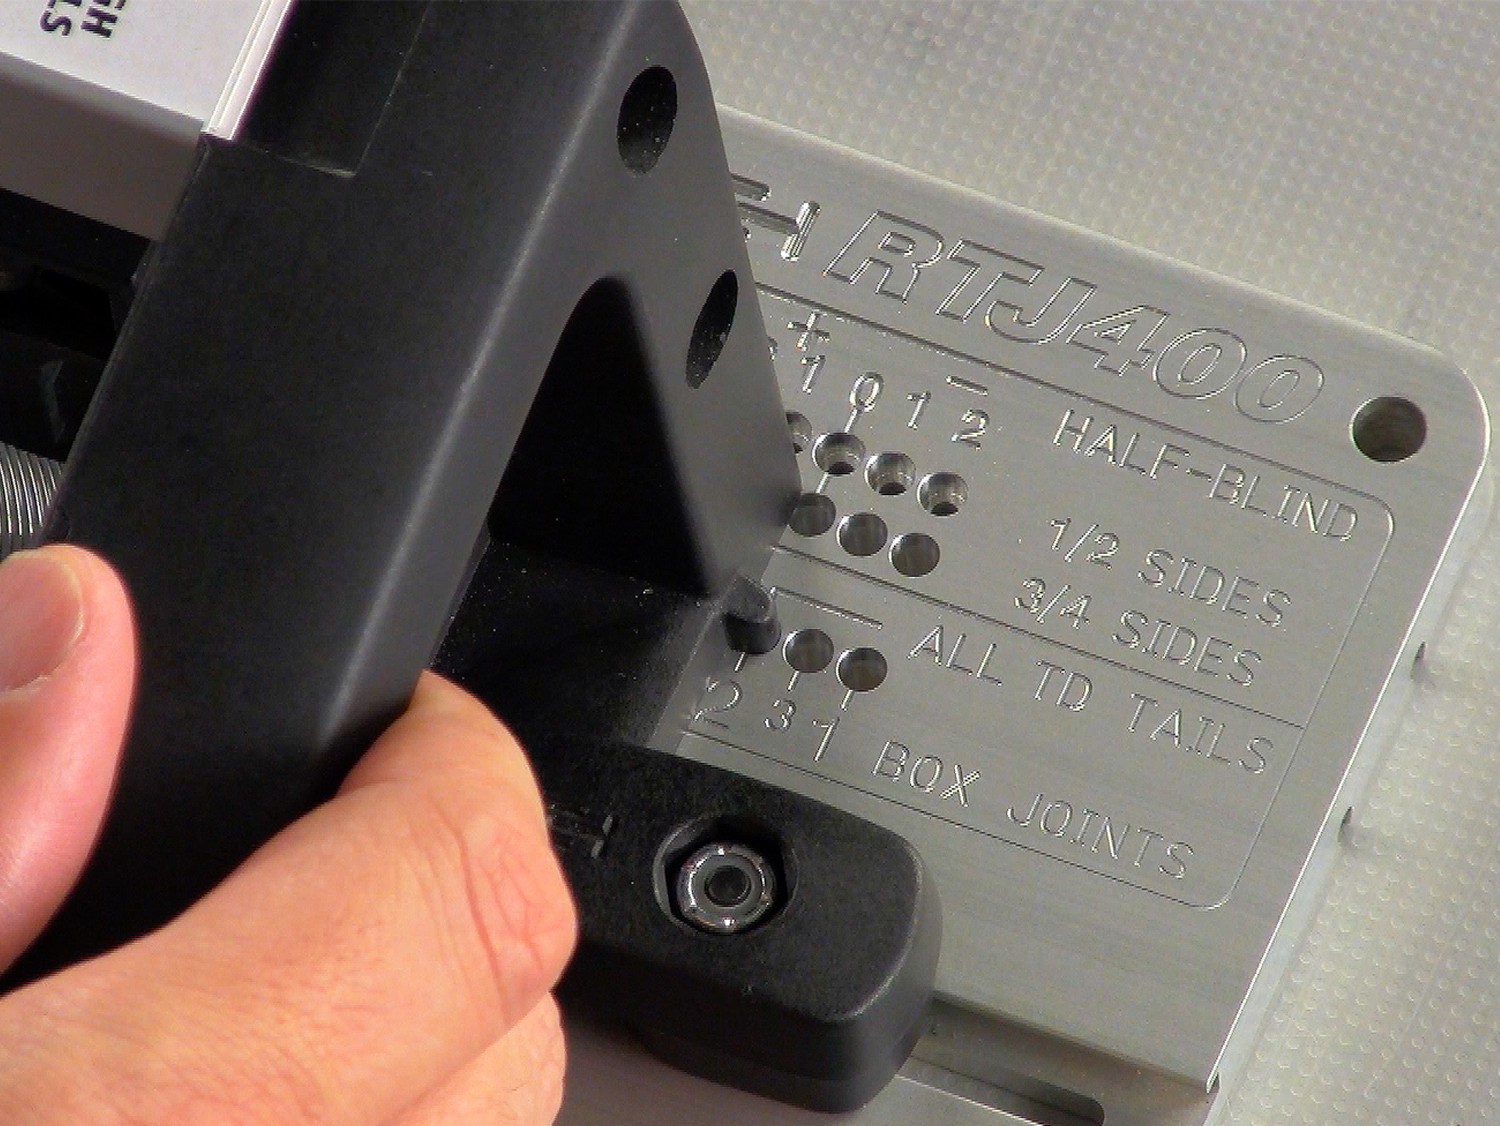
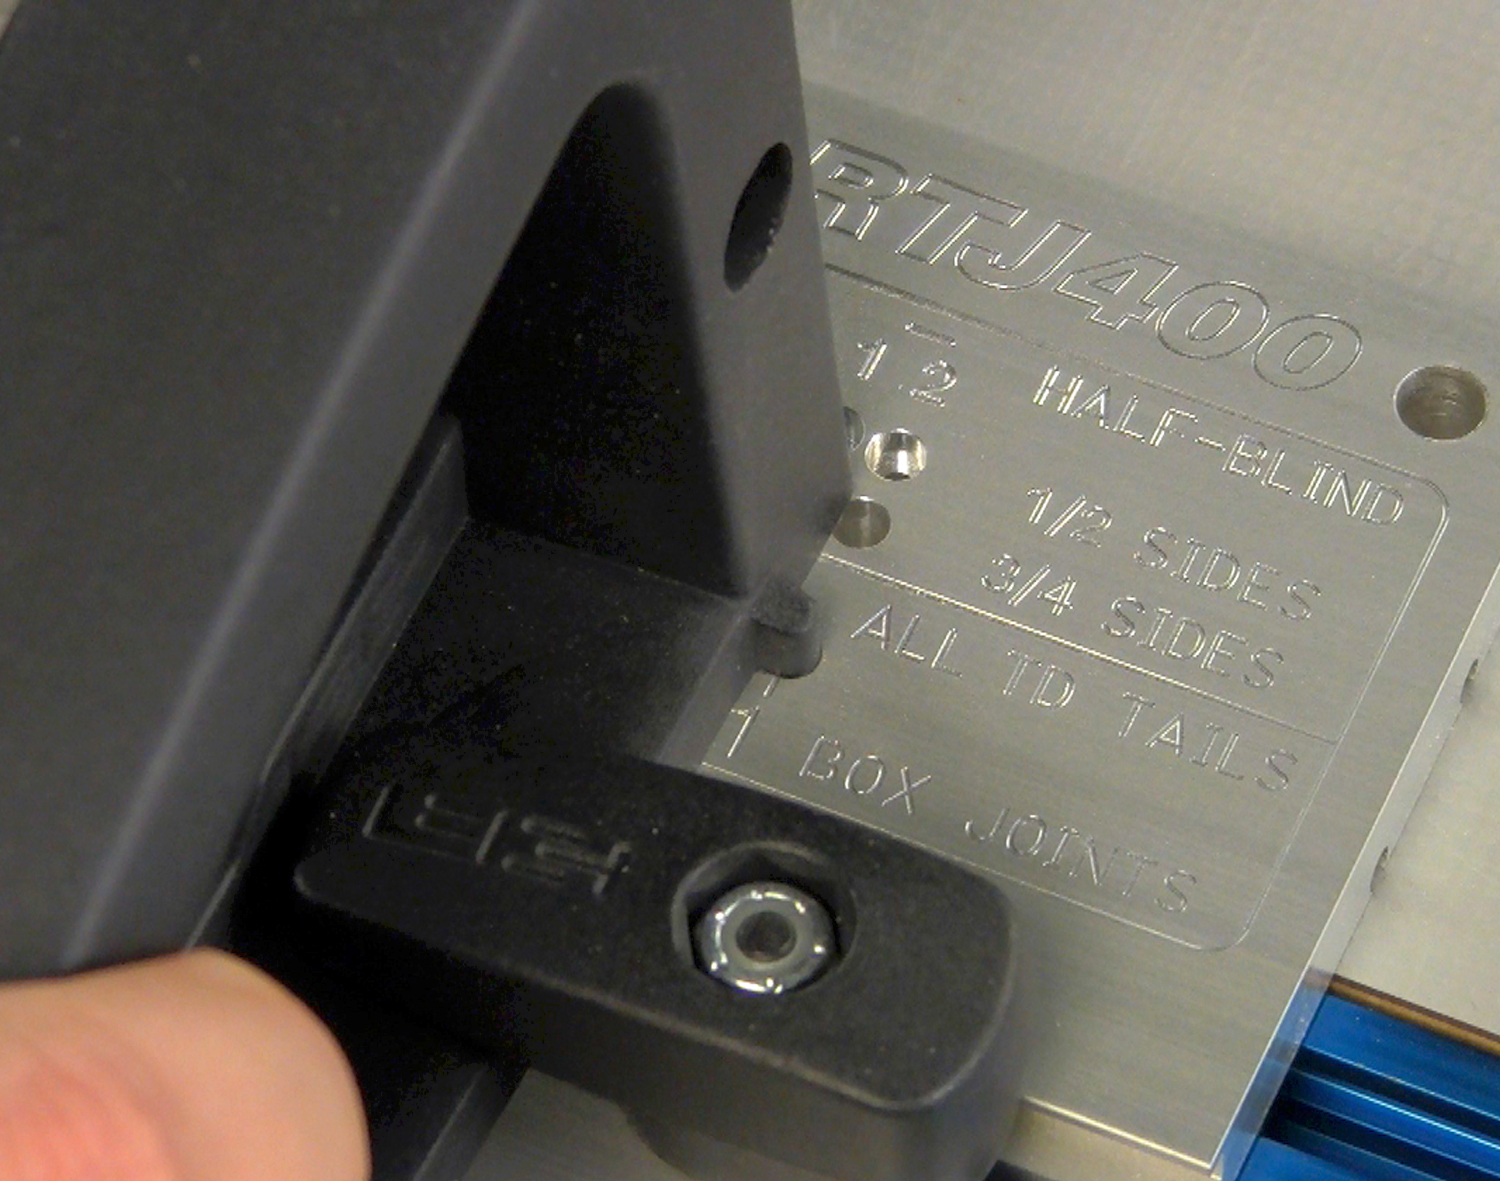
7 Reposition the frame in the No.2 Box Joints position. This provides the correct offset of sockets and pins, for perfect board alignment.
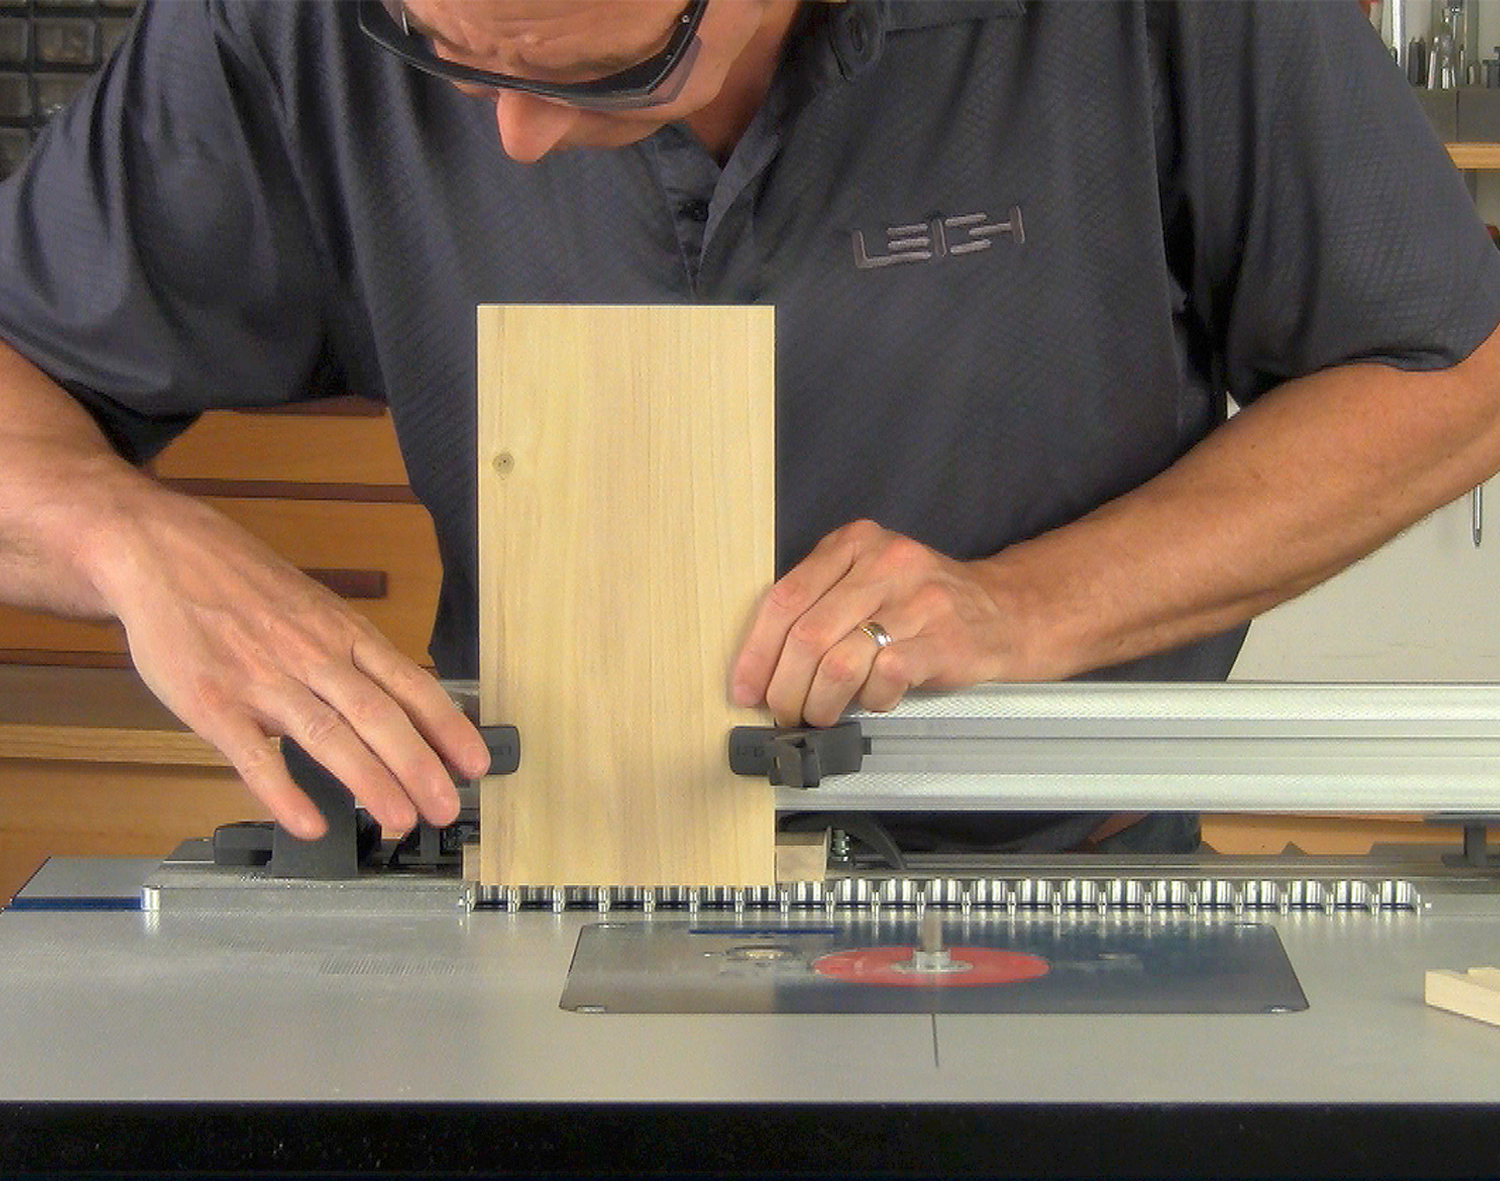
8 Position the socket board against the sidestop and clamp in place.
9 Rout into all template openings.
10 Once again, flip the board, end over end, and re-clamp against the sidestop and rout again.
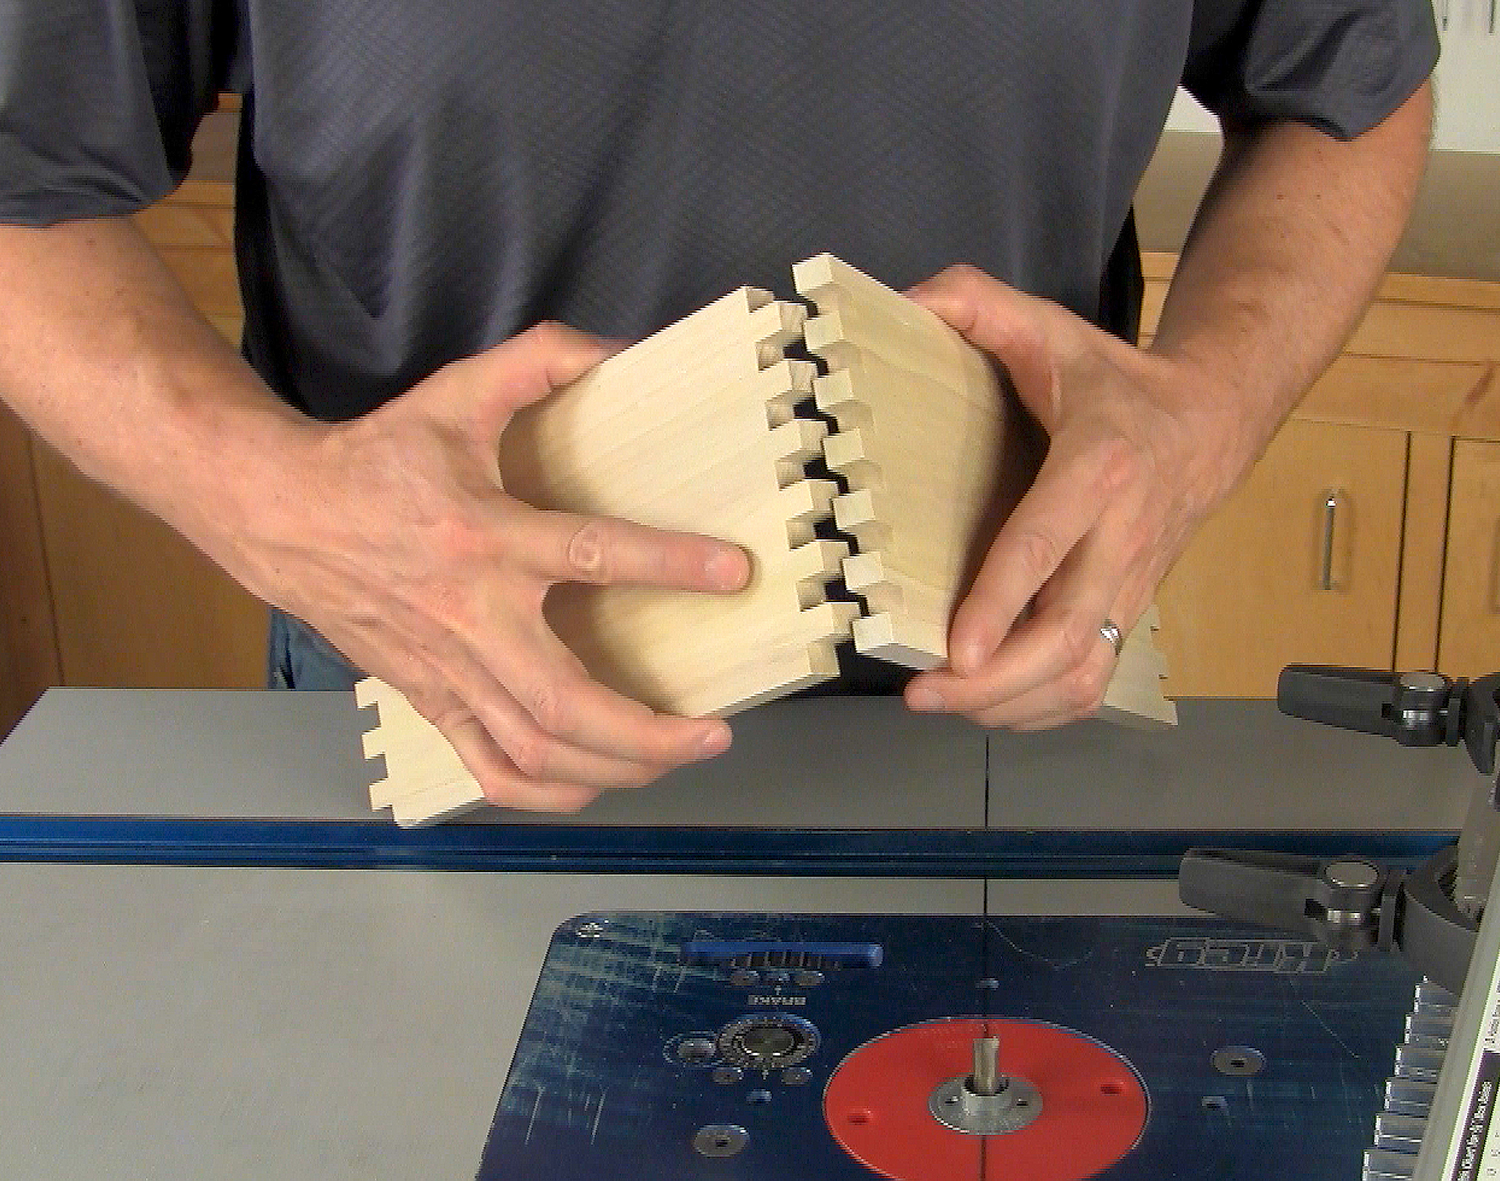
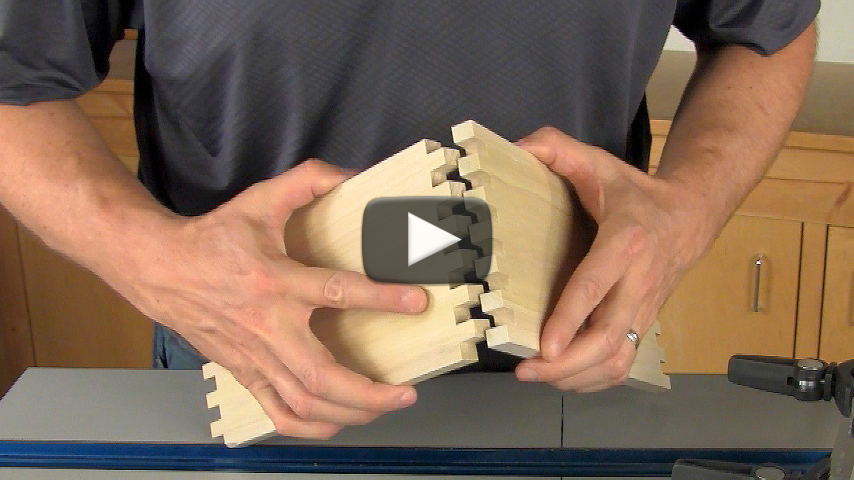
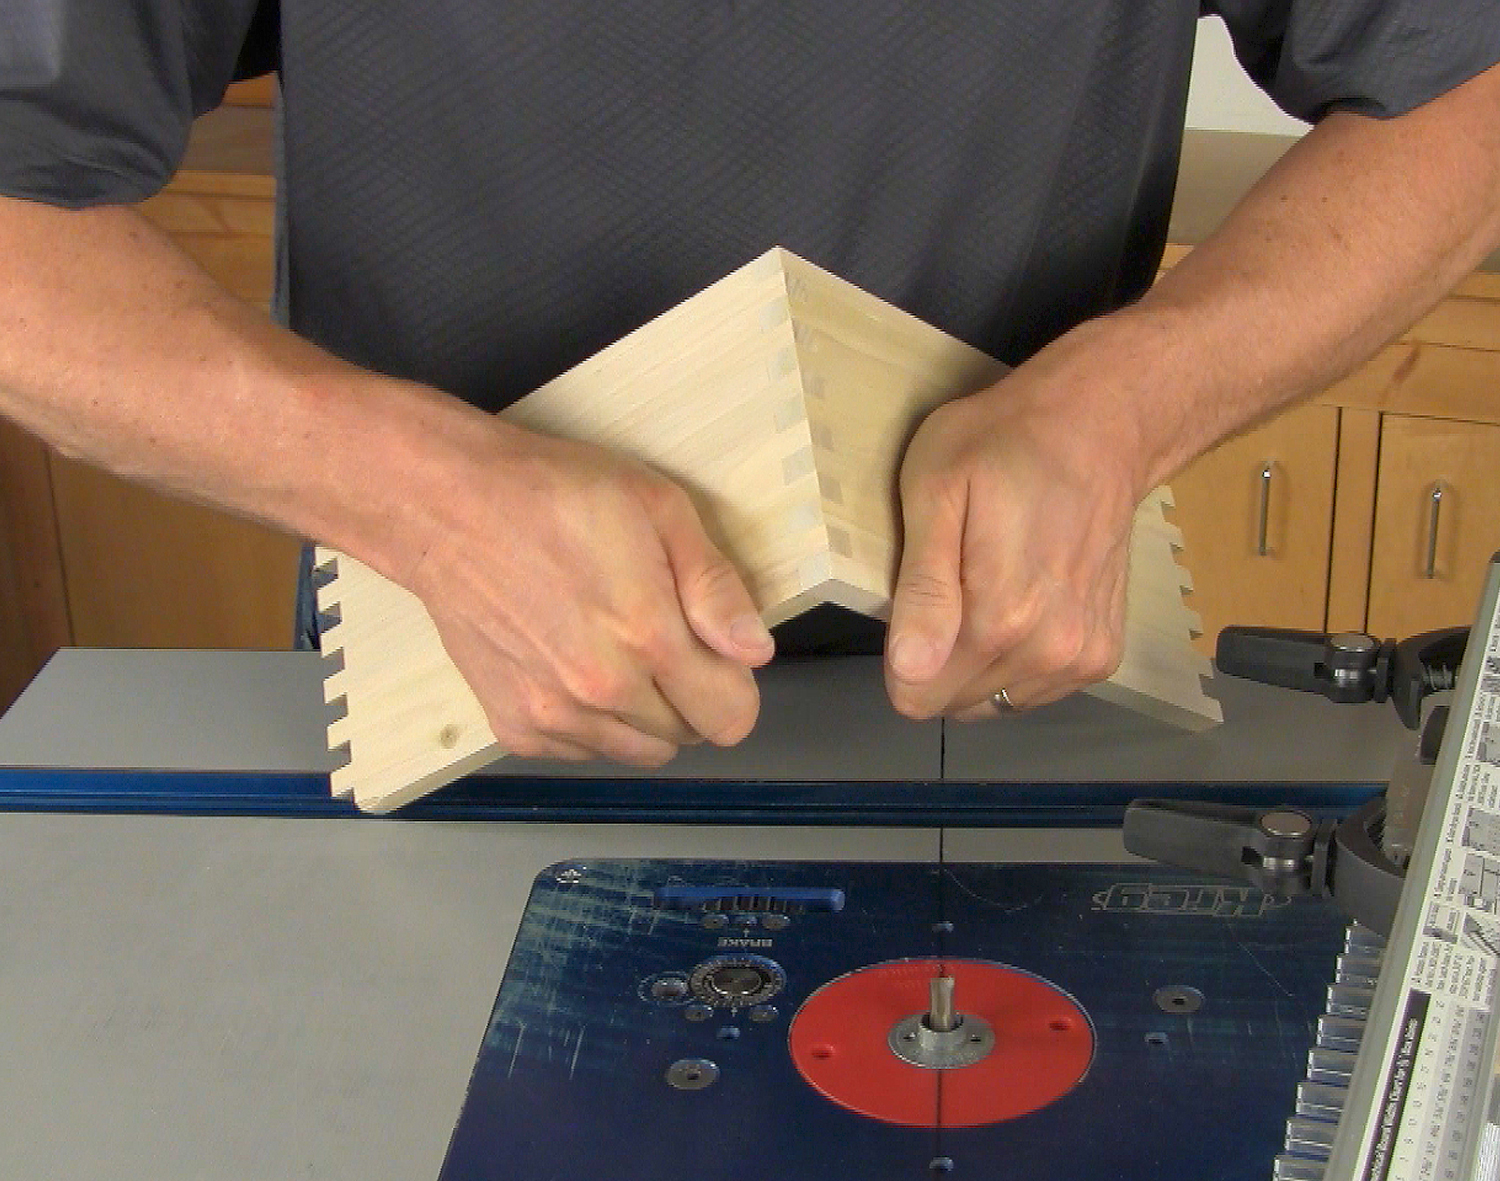
11 Fit the boards together to test the fit. J
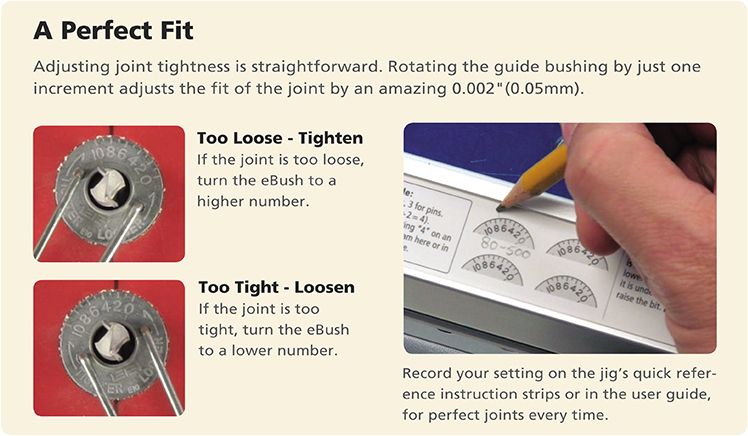
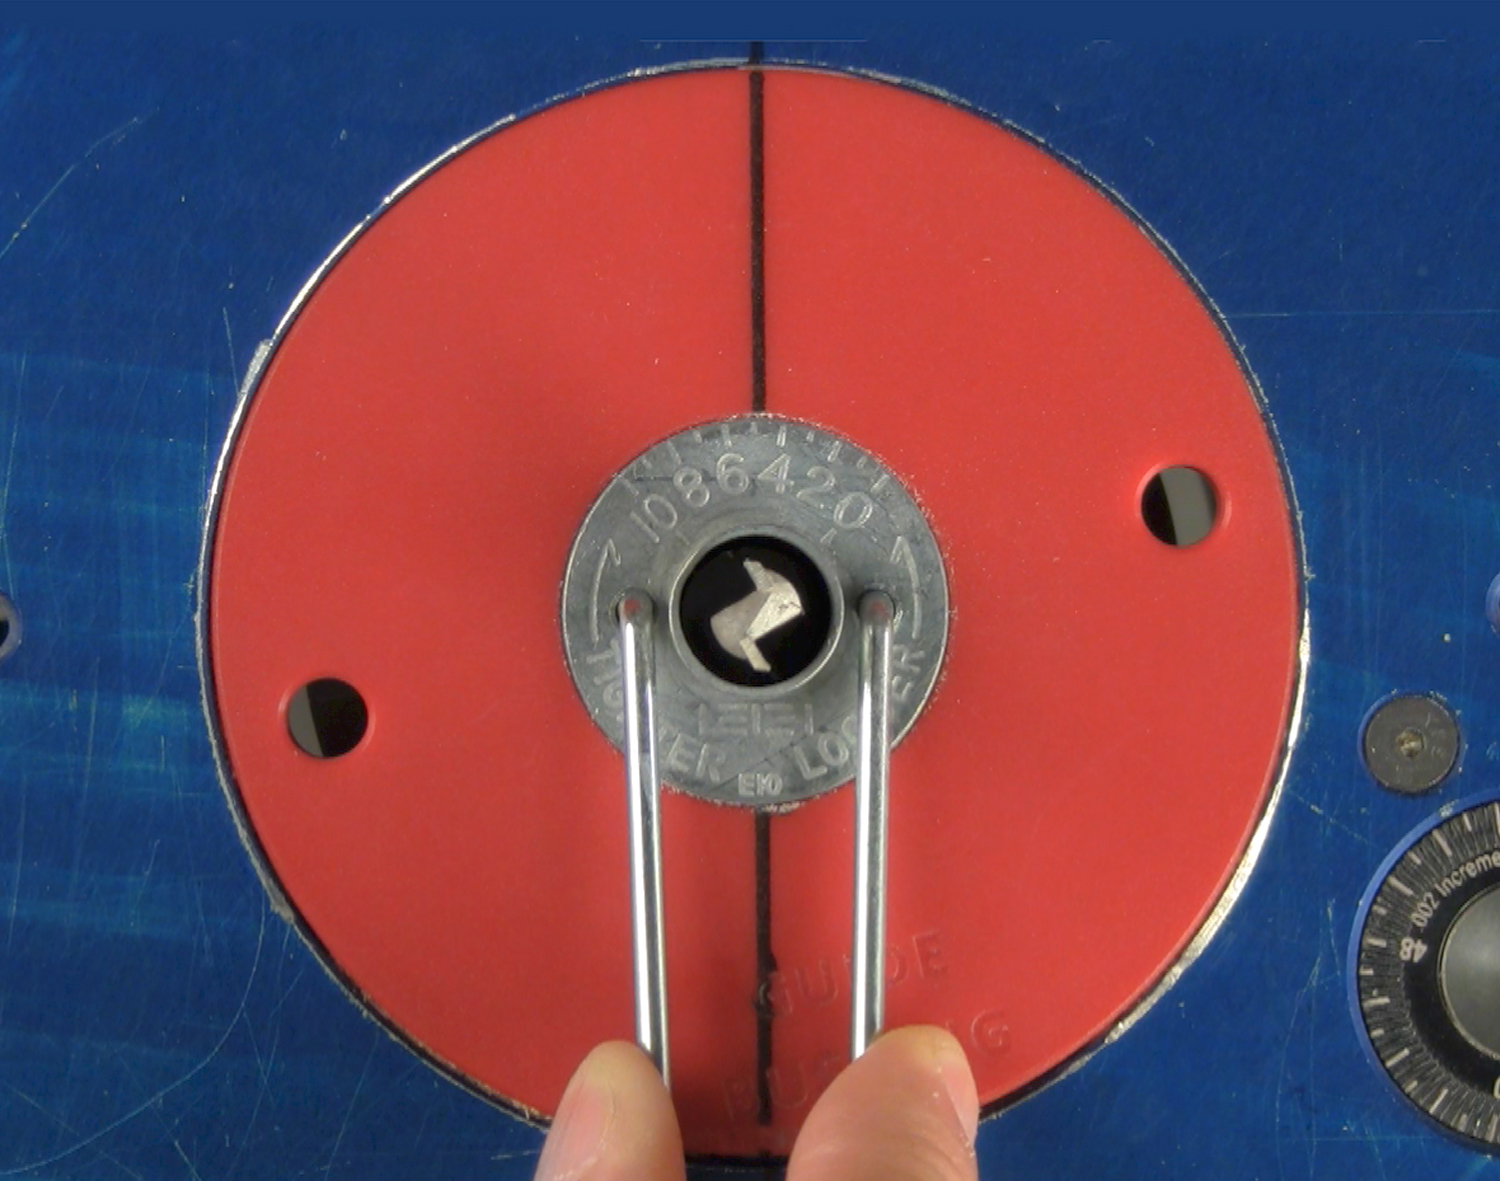
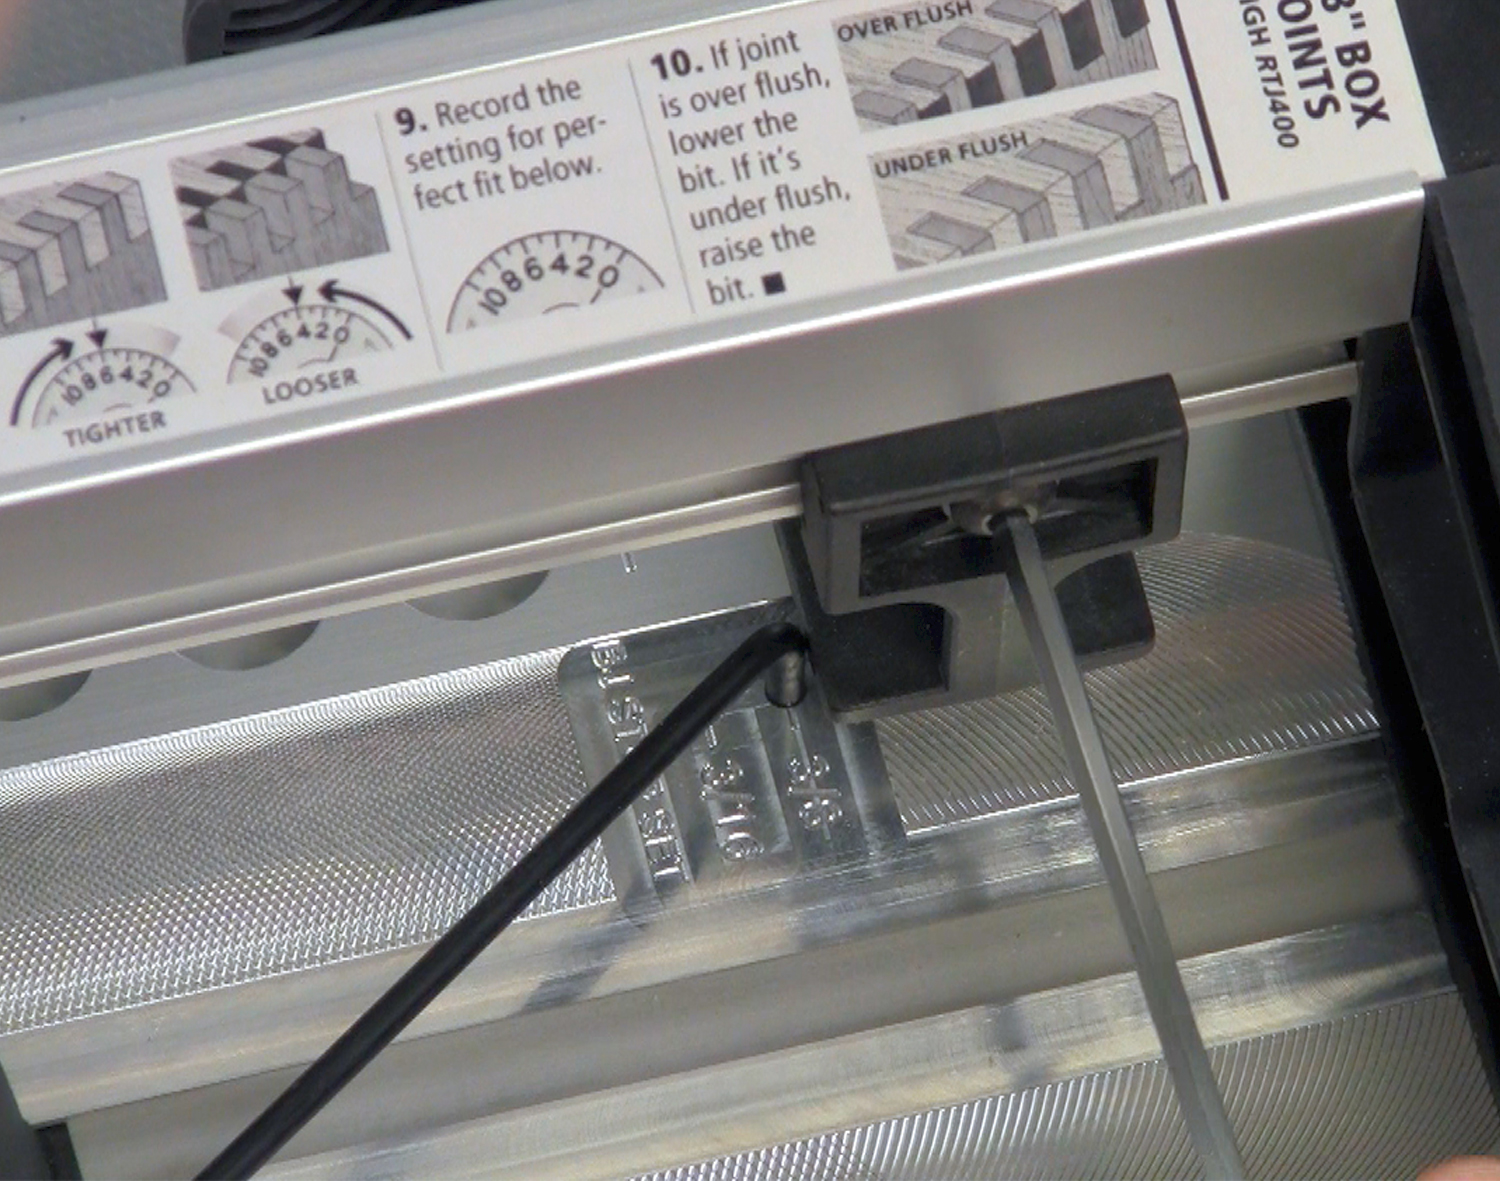
12 Joint tightness adjustment is made with the elliptical guide bushing (see ‘A Perfect Fit’ below).