
1 The side stop positioning for wider boards is set using a narrow board width. Mount the narrow board in the vice. Center the left end of the jig over the board and clamp in place.
2 Unlock the side stop and move it to the right so it contacts the edge of th board. The side stop is now set for pin and socket board routing. Remove the narrow board.
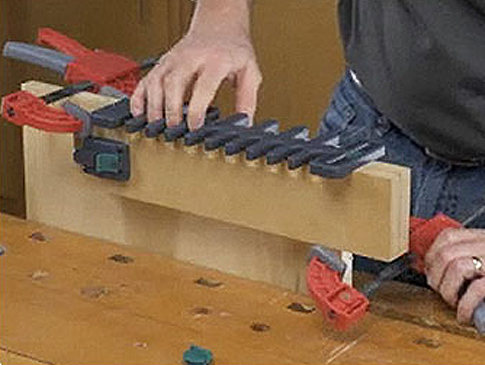
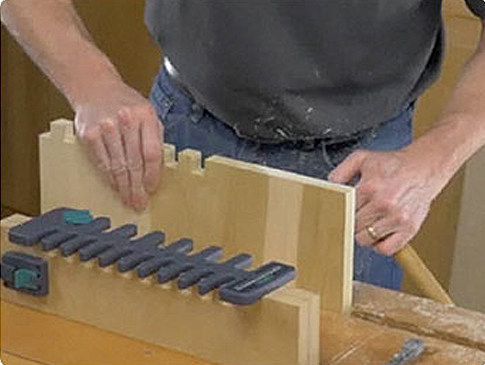
3 To rout the sockets, mount a wide socket board in the vice, and place the jig over the board, with the left edge of the board touching the side stop.
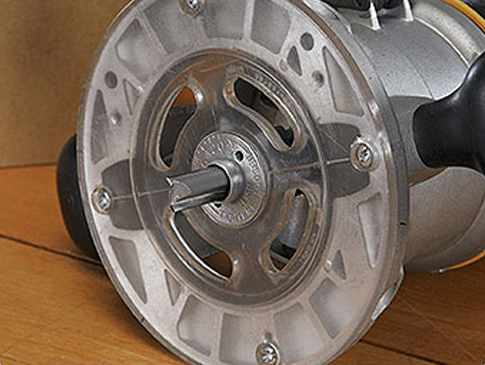
4 Install the supplied e10 guide bushing and 1/2"straight bit in your router.
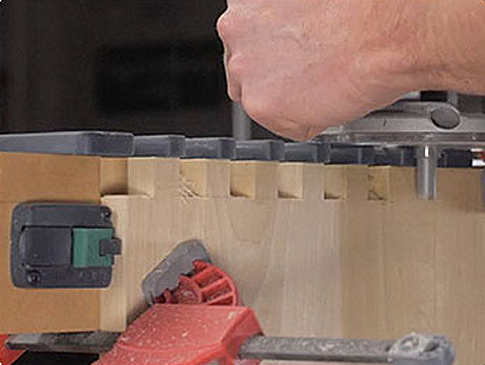
5 Rout the sockets on the left side of the board.
6 Insert the 3/4" step-over cam in the last routed socket and turn it until it contacts the board.
7 Remove the jig from the socket board. Flip the socket board left to right, and secure it in place.
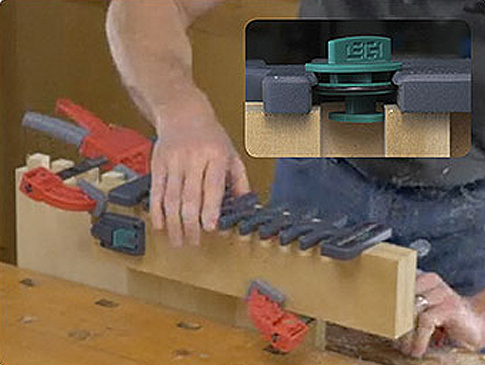
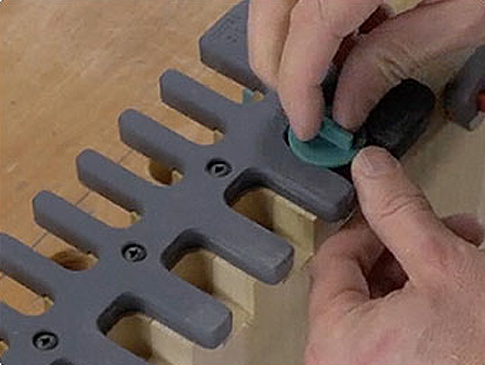
8 Place the jig on the socket board, using the cam to align the jig. Clamp the jig in place and remove the step-over cam.
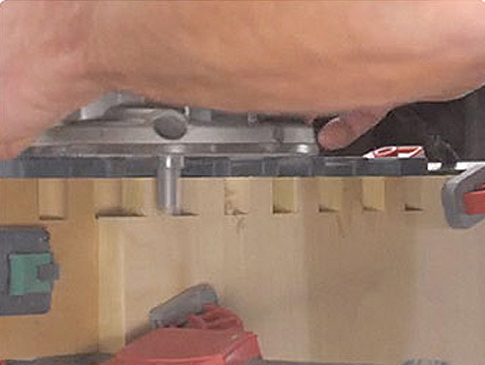
9 Rout the remainder of the sockets in the workpiece. Remove the jig from the socket board, and remove the board from the vice.
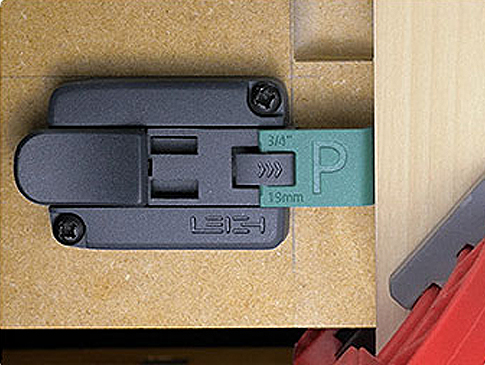
10 Pin boards are routed using the same steps as socket boards, but with the pin board stop in the pin position. This is done to offset the pin board.
11 Following the same procedure as the sockets, rout the pins.
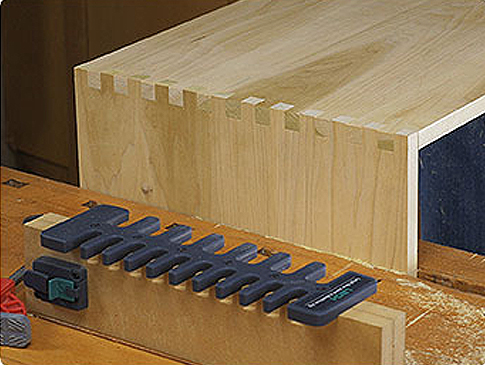
12 Fit the boards together to check the joint fit.