"How To" Videos & More
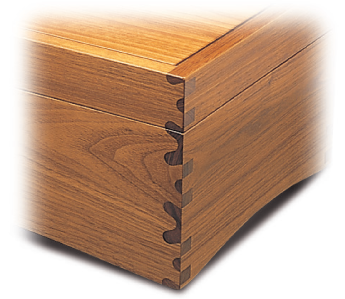
Unique Isoloc Joints routed with an Isoloc Template on the D4R Pro
With a single 5/16" or 8mm straight bit, you can rout Isoloc Joints in six different patterns. They’re easier to rout than dovetails, and a great alternative. You can also rout inlaid Isoloc joints that are really eye catching. Learn more
Here’s How:
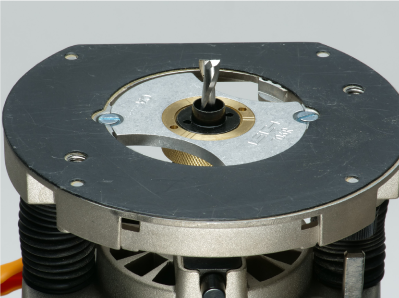
1 Use the included Leigh guide bushing (VGS) and matching 5/16” straight bit (not included).
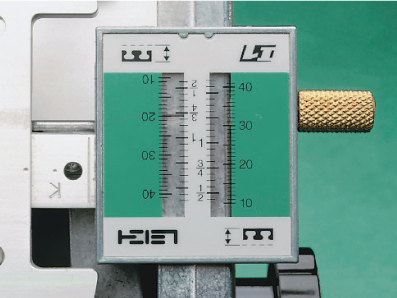
2 The right half of each scale is the one you use (the inactive half is on left and upside down). Scales are in inches and millimeters. Setting the scale to the thickness of the pinboard is the only setup required for routing both pins and sockets.
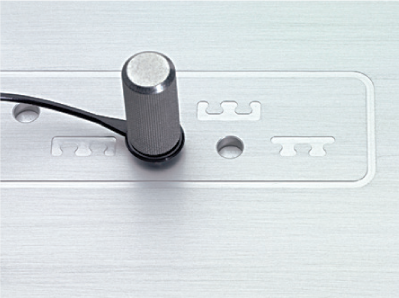
3 Generally with Isoloc joints, one board edge starts with a pin, the other with a socket. A template control pin positions the Isoloc template for both. Here, the icon shows you’re ready to rout a pin board.
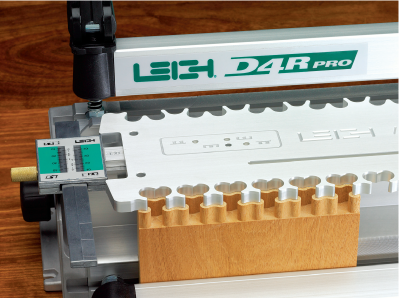
4 The router and VGS follow the template to rout the pins.
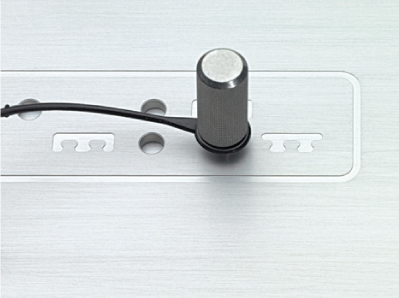
5 Remove the control pin, slide the template sideways to the next position, and insert the control pin in the hole marked by the socket (tail) icon. You’re ready to rout the socket board.
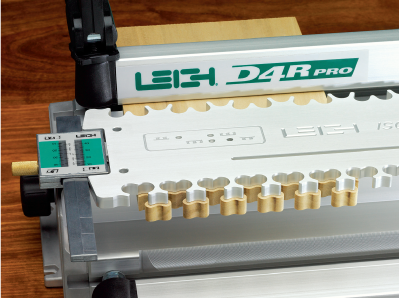
6 Rout around the template to form the sockets in the mating board.
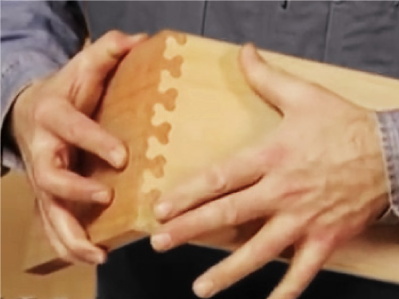
7 Fit the boards together to check the joint fit.
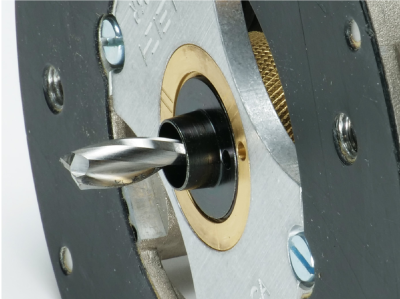
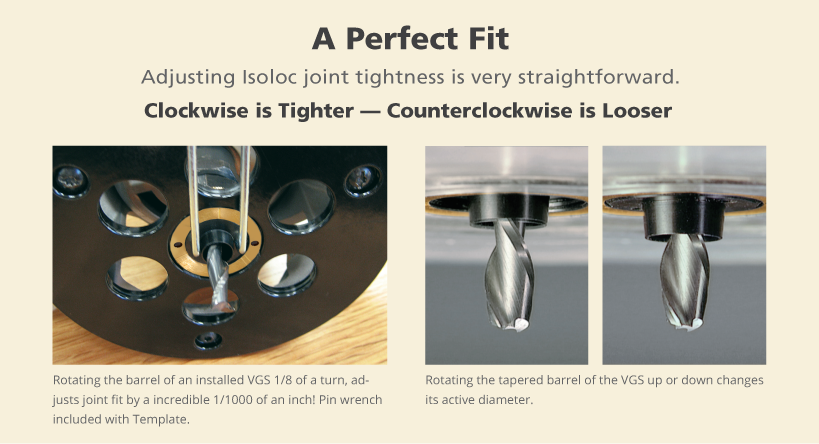
8 Perfect joint fit is easy with the VGS Variable Guidebush system (see diagram below).
For more detailed instructions, see the User Guides and Bulletins on the Support page.
