How-To Videos & Instruction
Mortise & Tenon Joints:
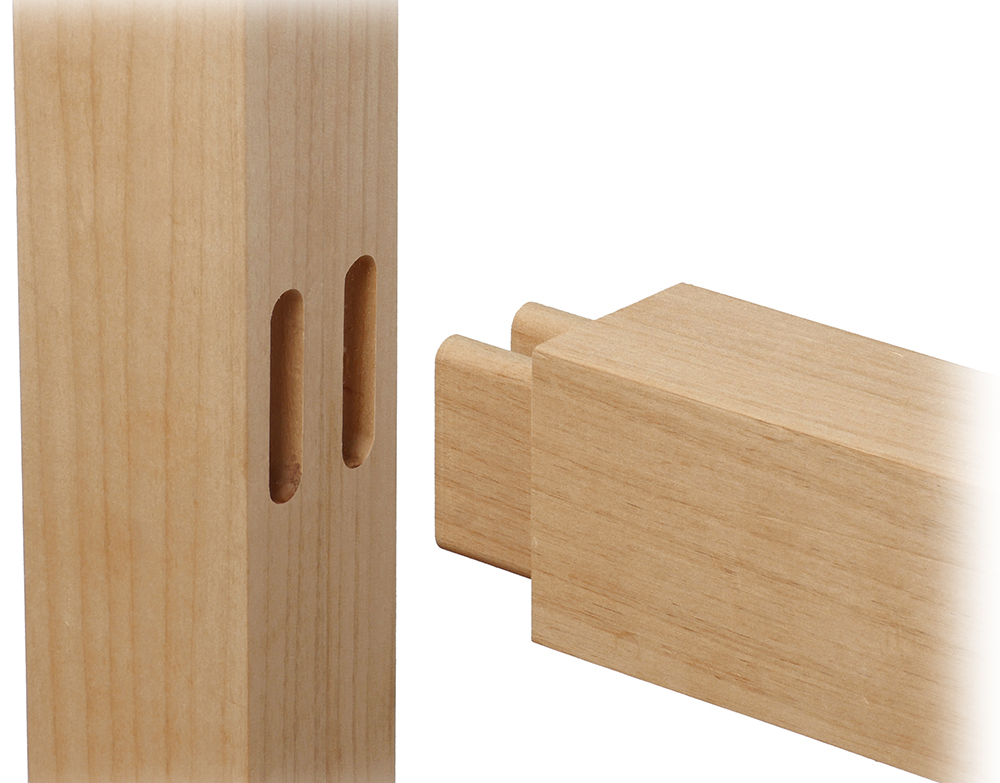
The FMT Pro makes easy work of twin double mortise & tenon joints, with a few extra steps required than for single joints. Twin joints are most often used for projects that require a bit more strength than single joints provide, such as workbenches, garden benches, chairs, bed frames, tables, cabinets and large chests. Here’s how to rout a double in line joint:
The Tenon
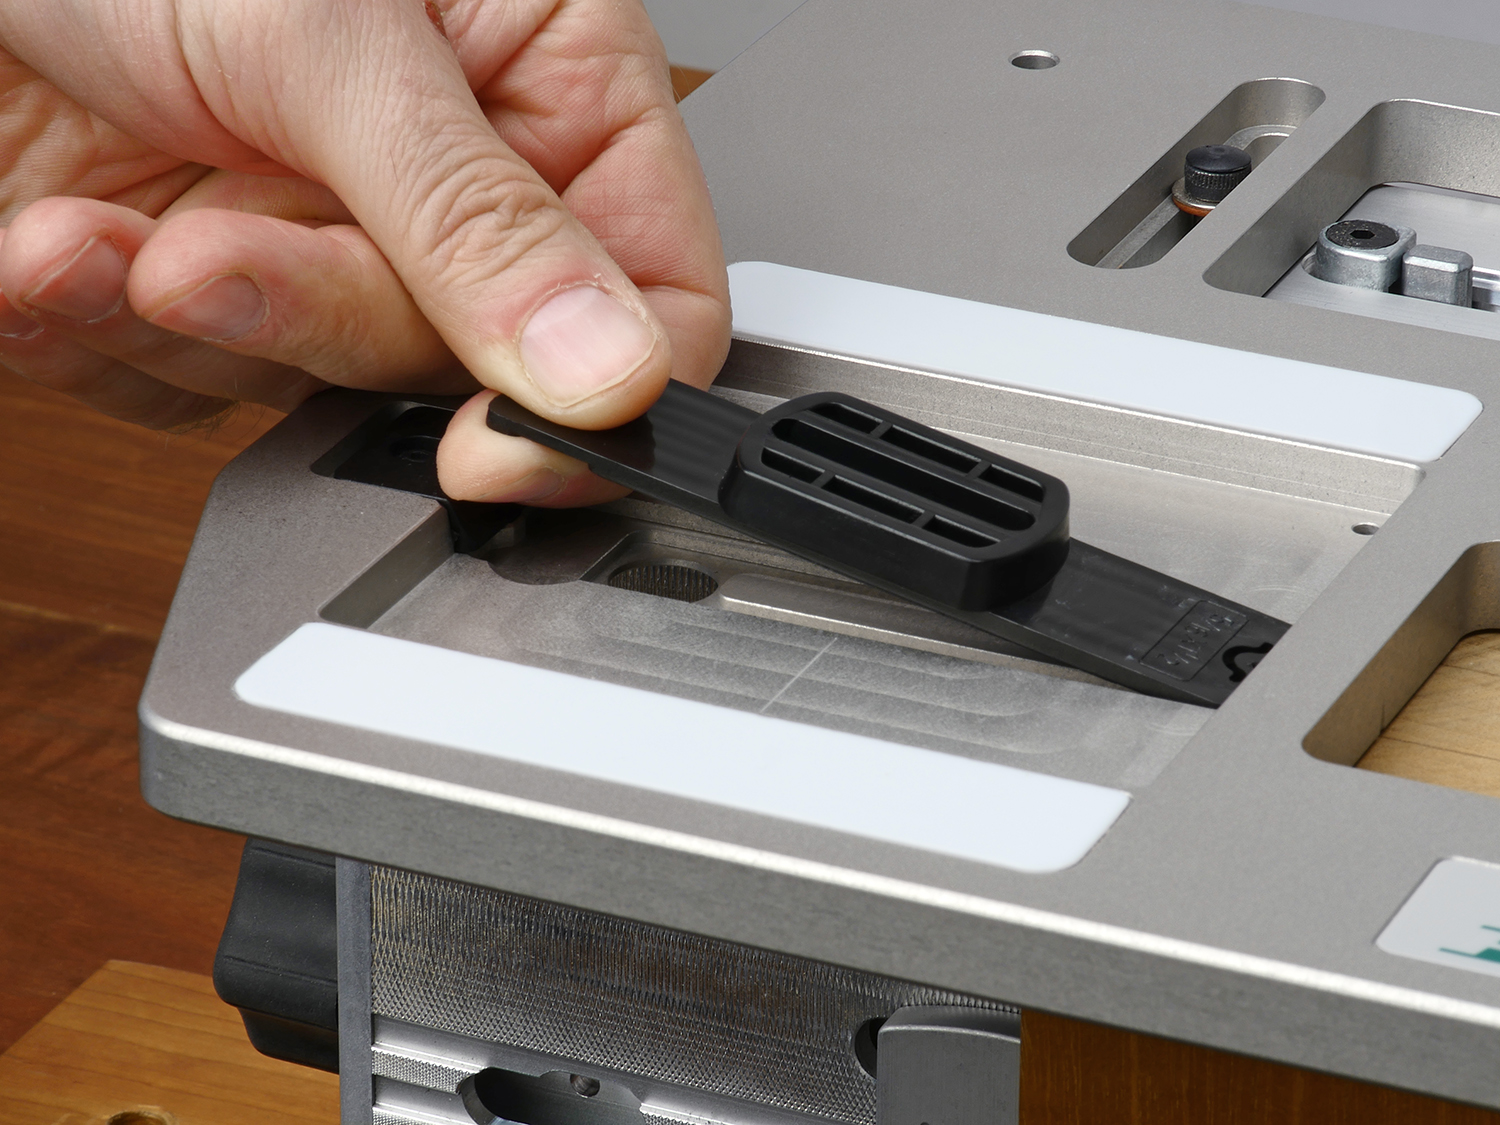
1 Select the joint guide and matching bit for the desired mortise & tenon size. Snap the guide into the table's guide recess.
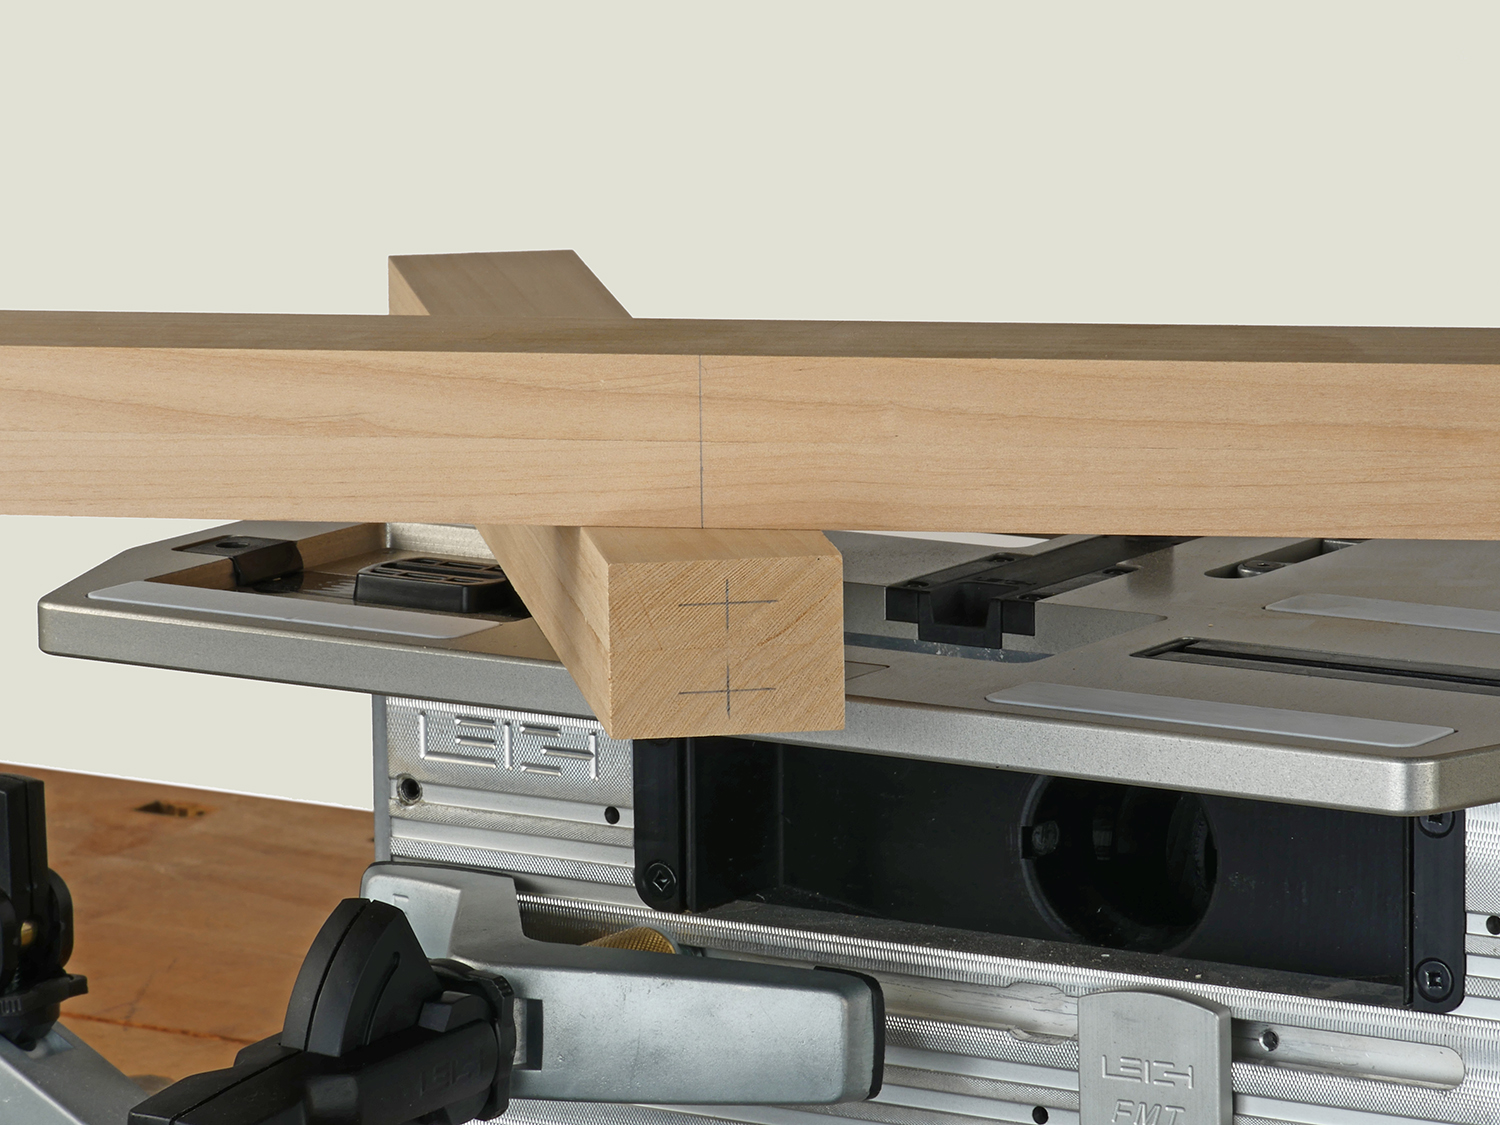
2 Mark the two tenons and mortise position to suit your layout.
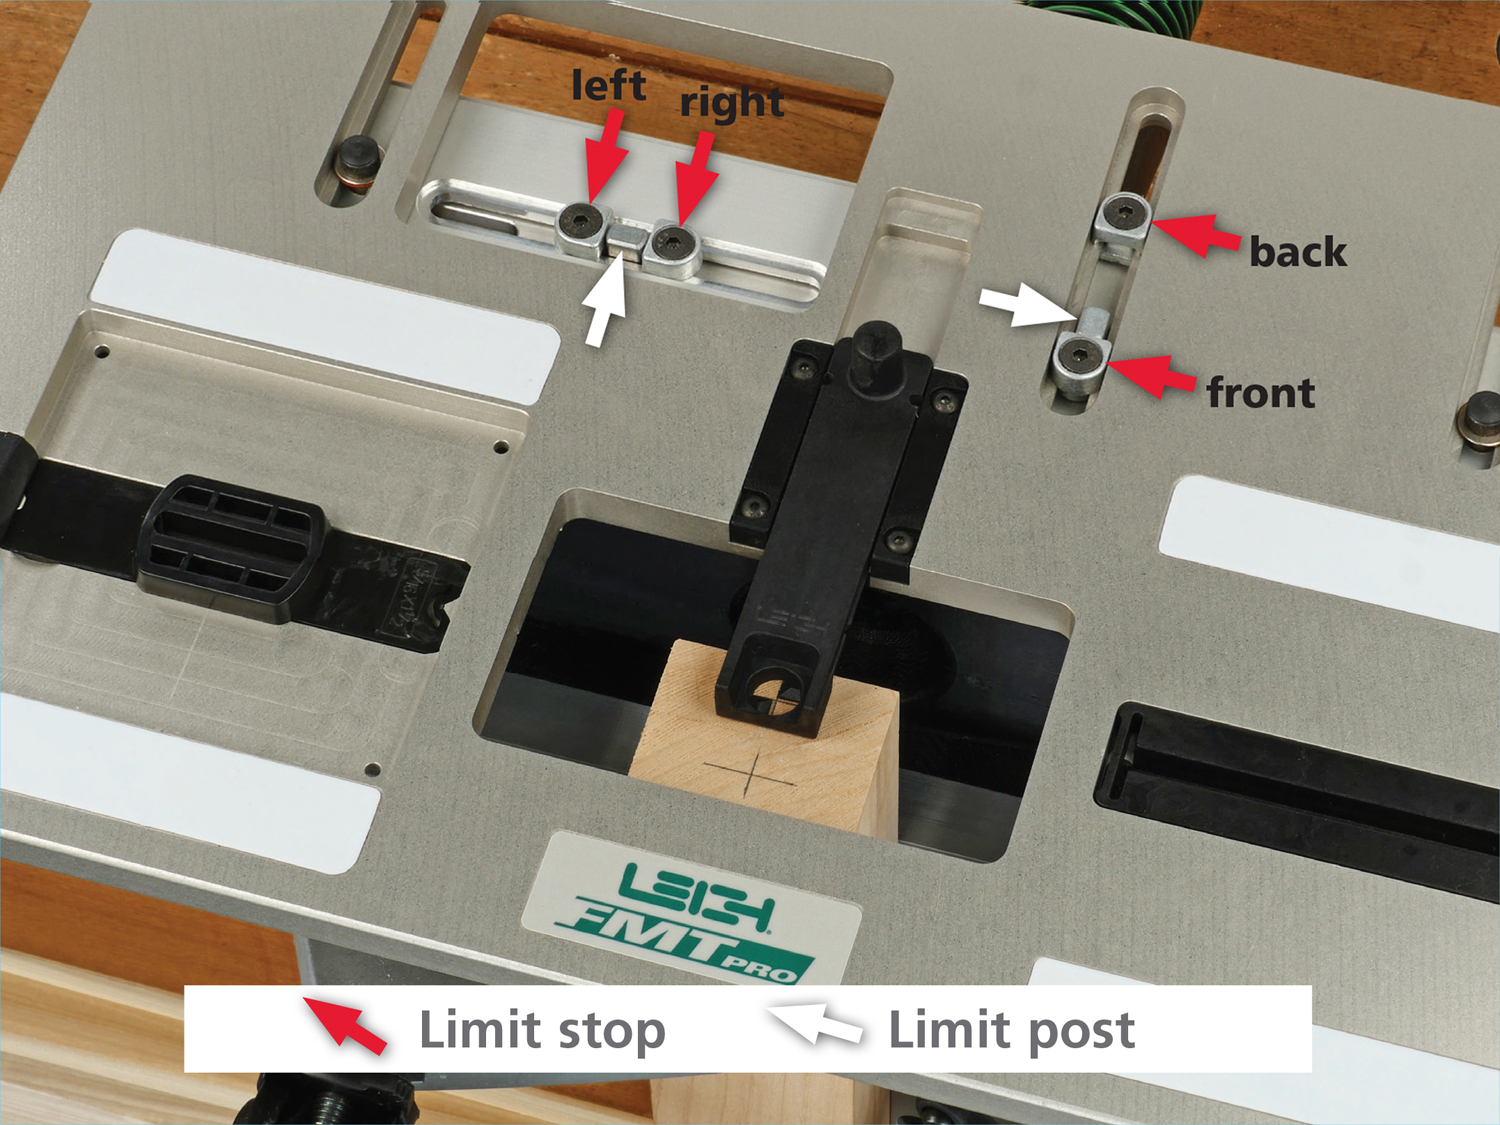
3 Clamp your tenon workpiece onto the clamp plate, against the side stop fence. Move the table to sight the rear tenon position, lock the left, right and front limit stops against the limit posts. Then sight the front tenon and lock the back limit stop. This sets up the table for easy and accurate positioning, as you rout each successive workpiece.
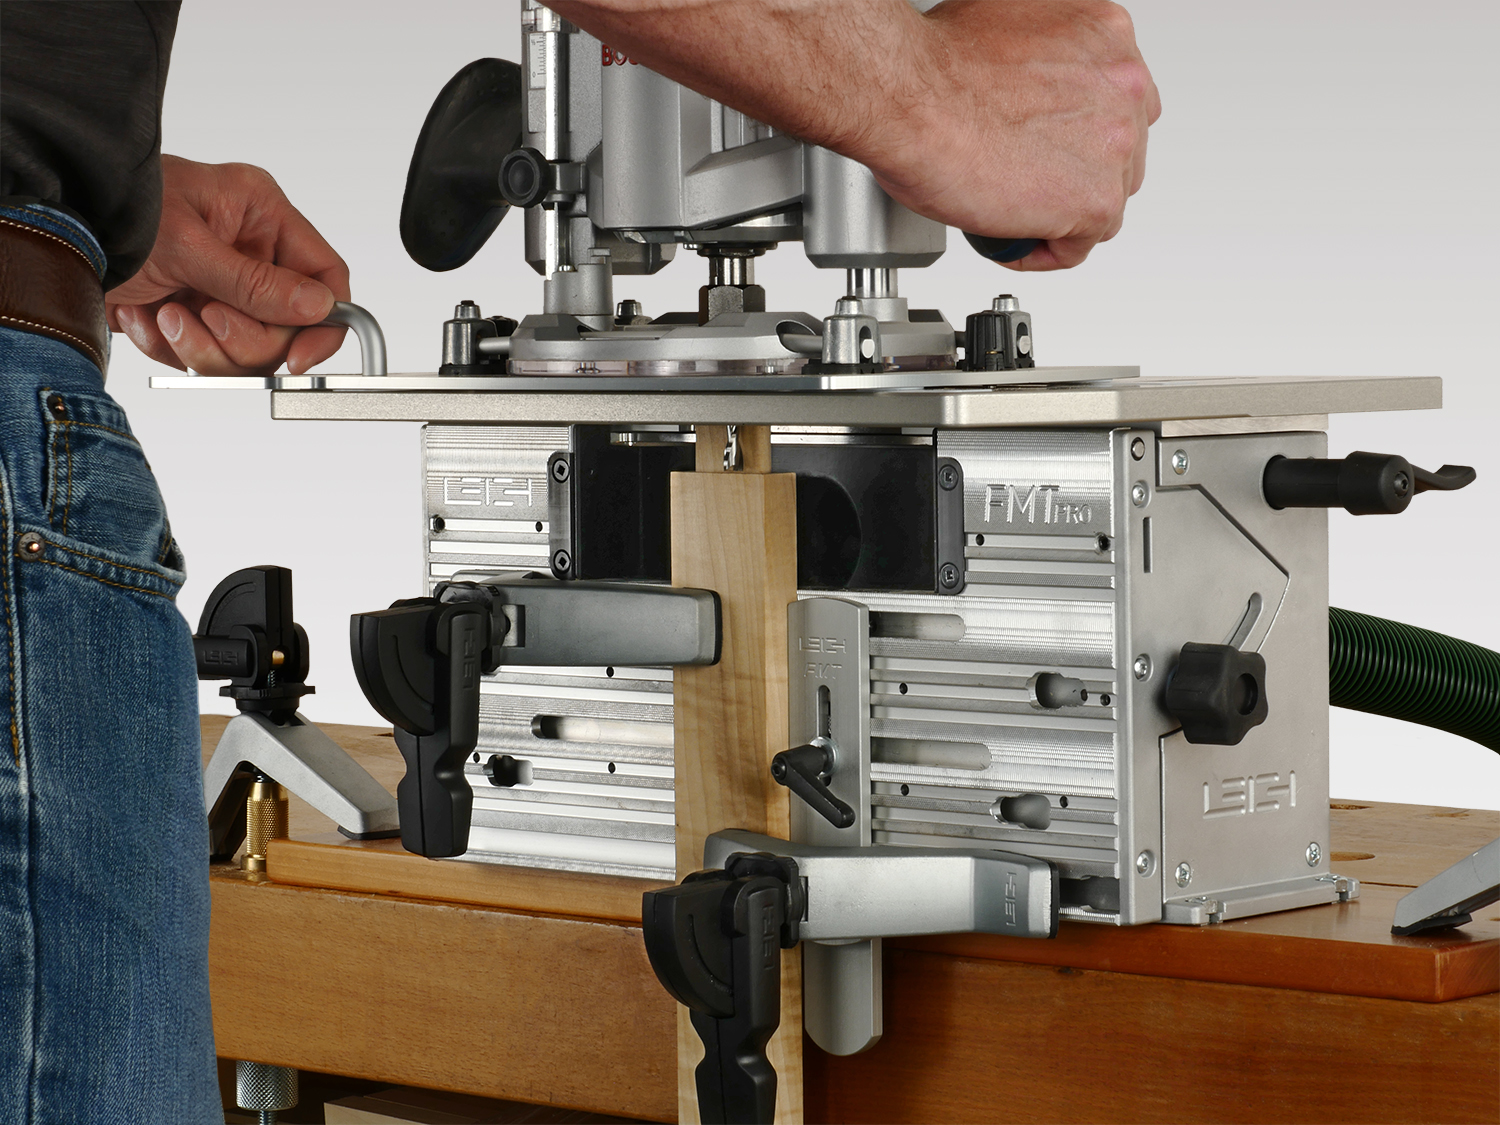
4 Place the router/sub-base on the table in position, ready to rout around the joint guide.
Note: Duplicate tenons can be routed without having to mark or sight the tenons.
Note: Duplicate tenons can be routed without having to mark or sight the tenons.
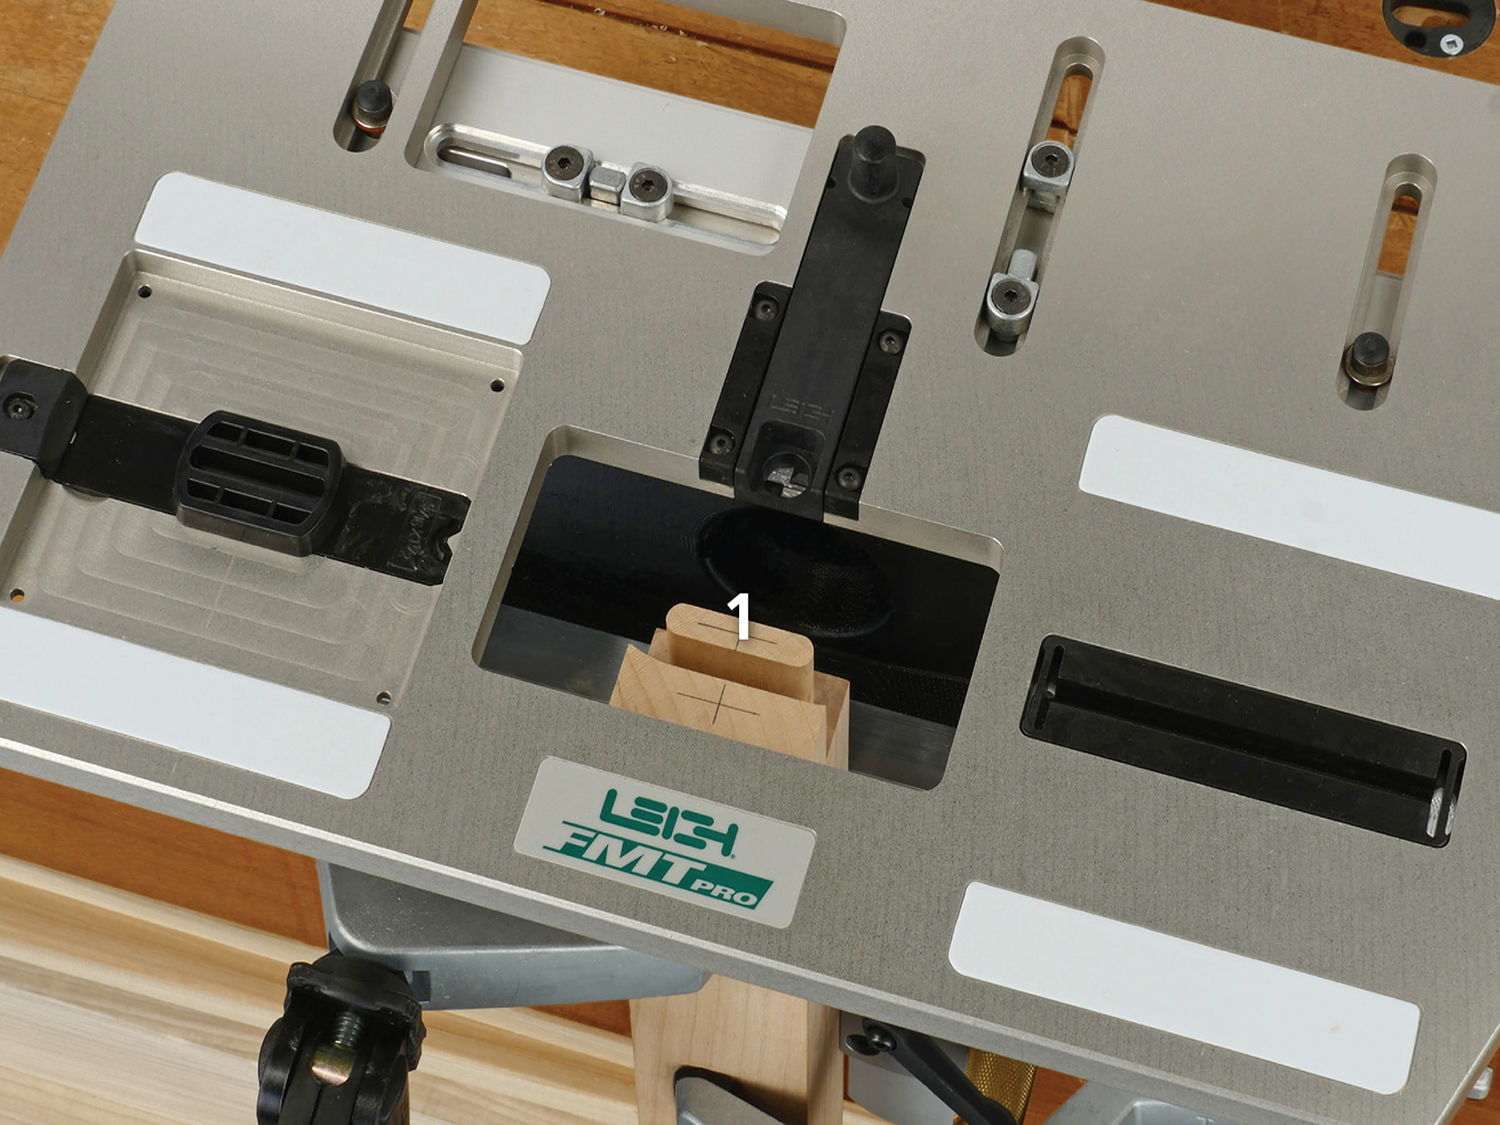
5 First, rout the rear tenon in it's respective table position.
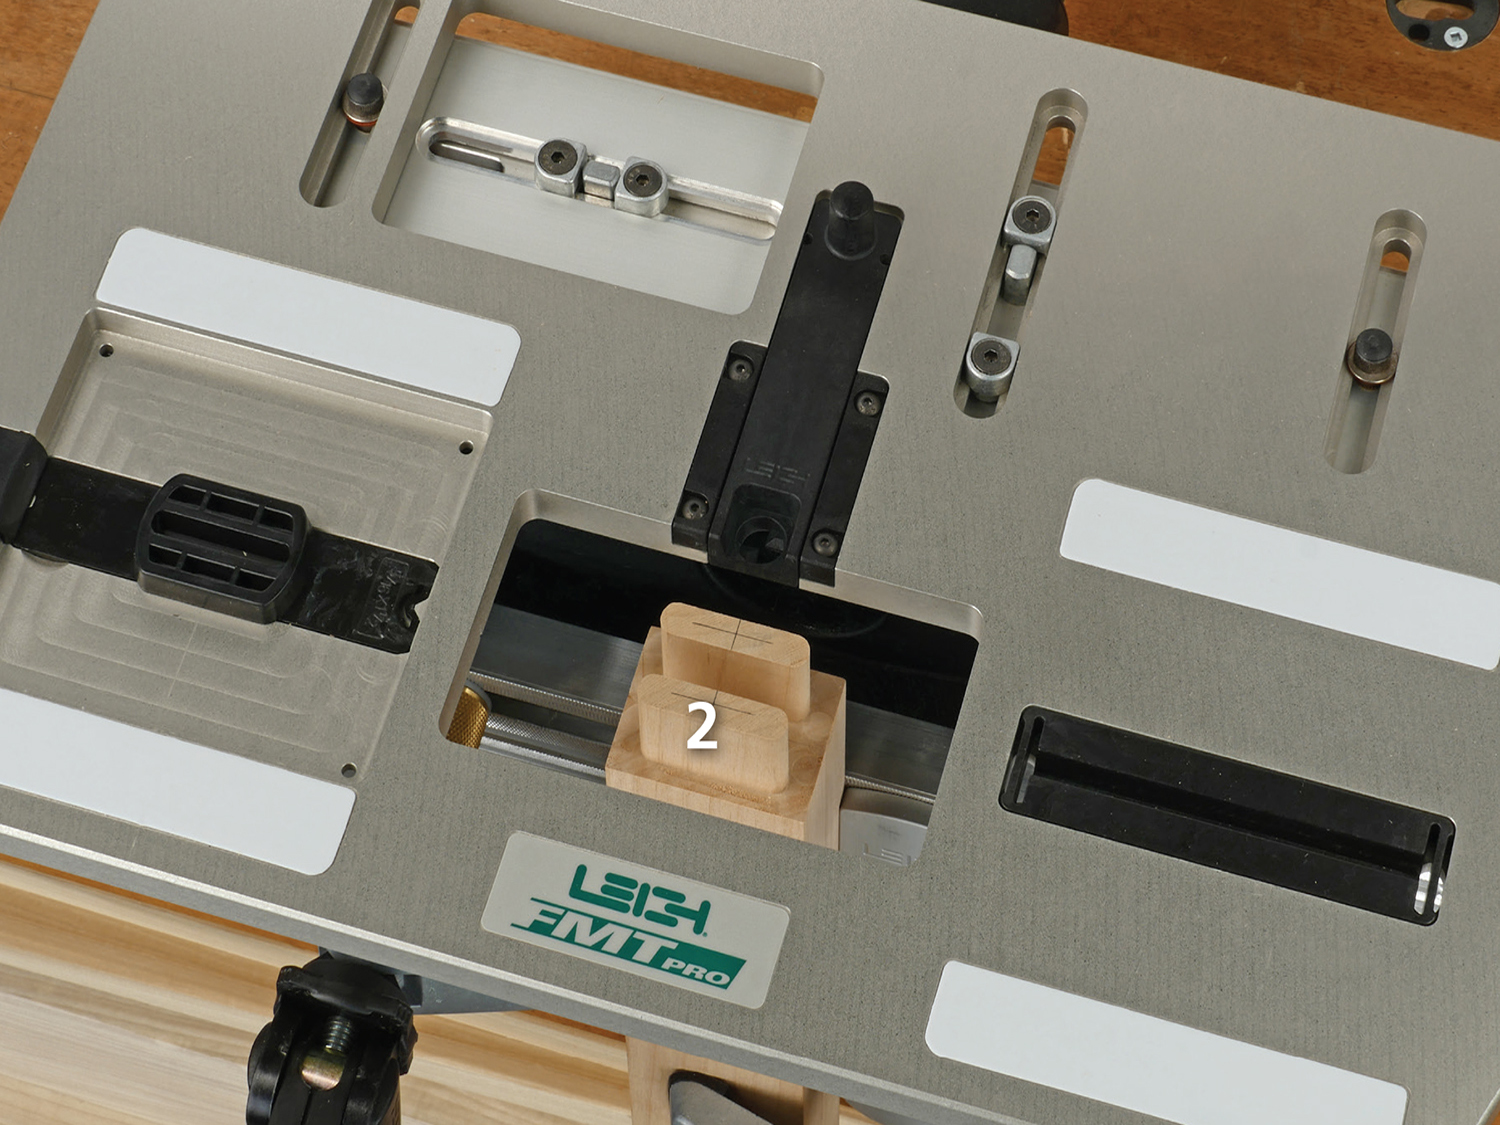
6 Move the table to the front and rout the front tenon in its respective table position.
The Mortise
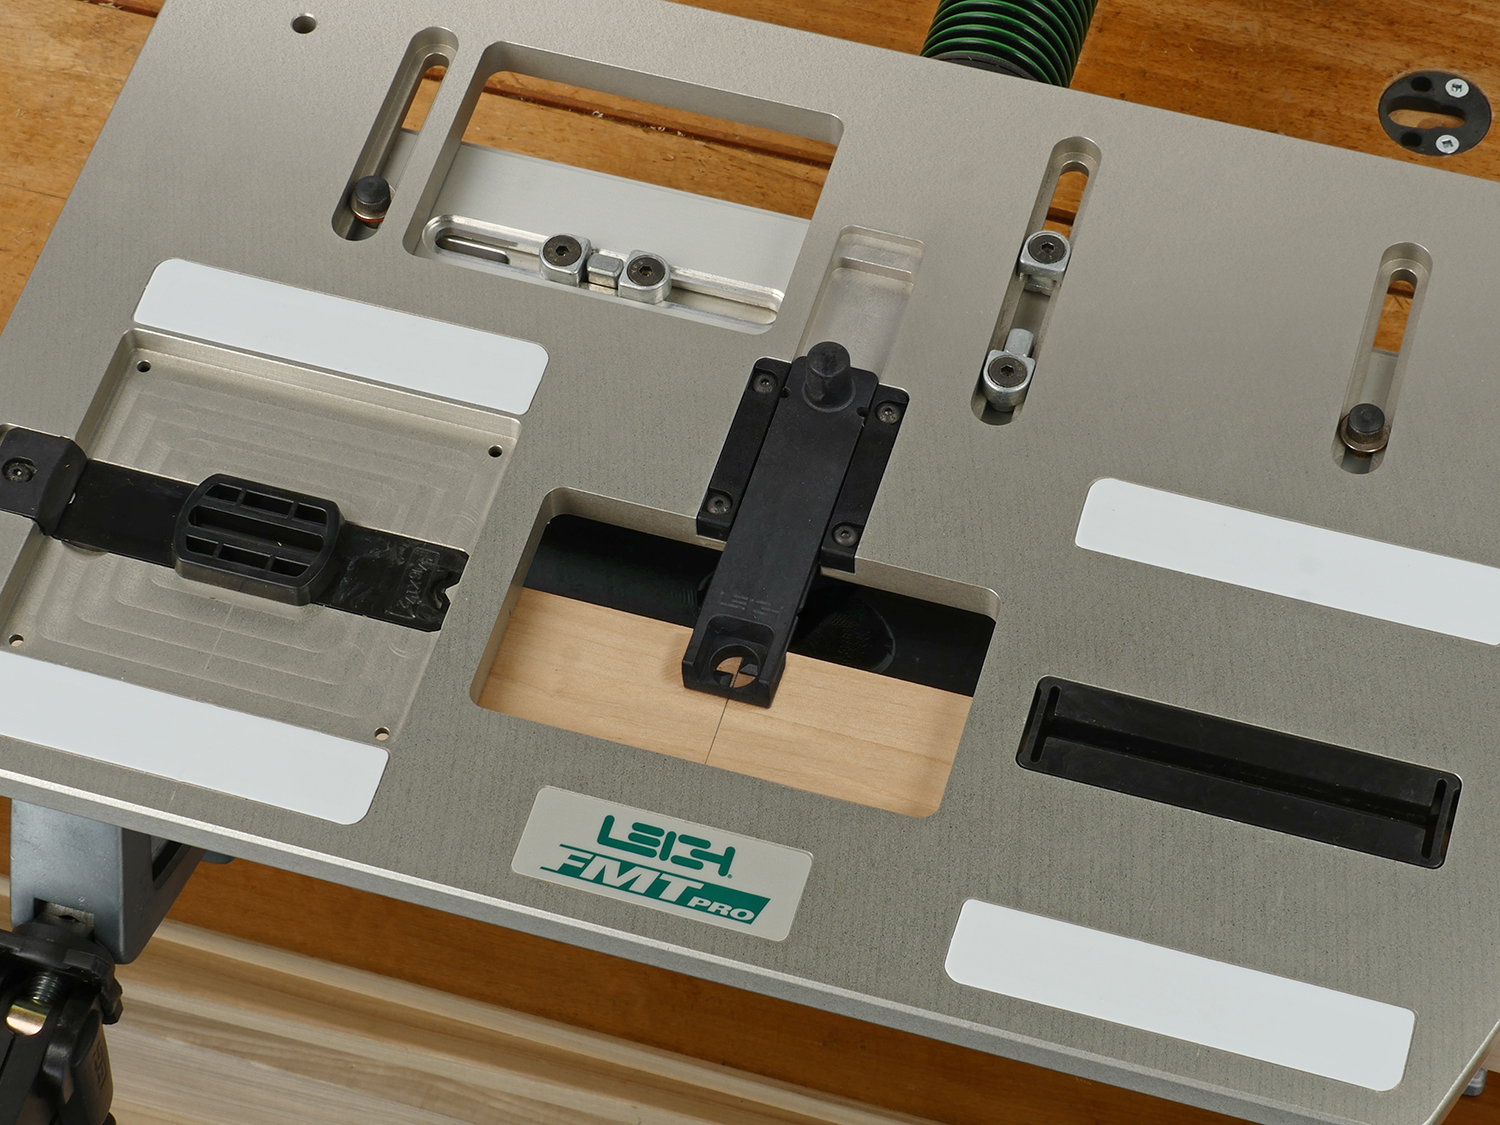
1 Remove the tenon and router. Extend the sight, and clamp the mortise board to the jig with the mark aligned to the sight.
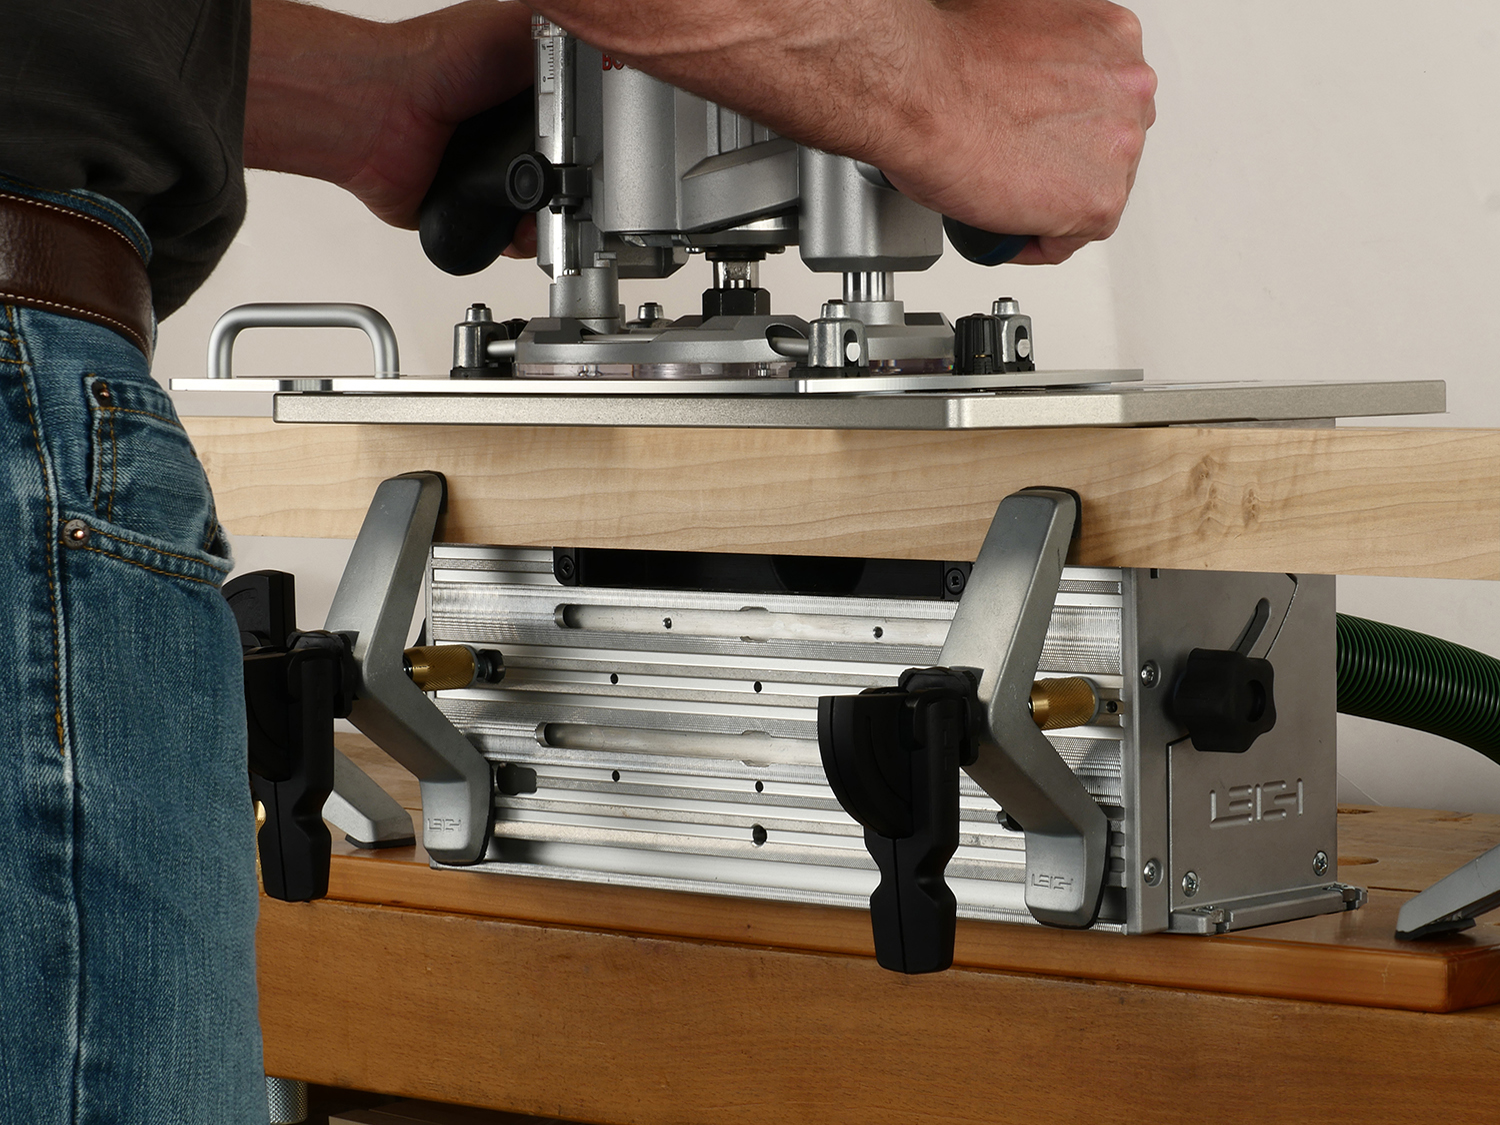
2 Place the router/sub-base on the jig table.
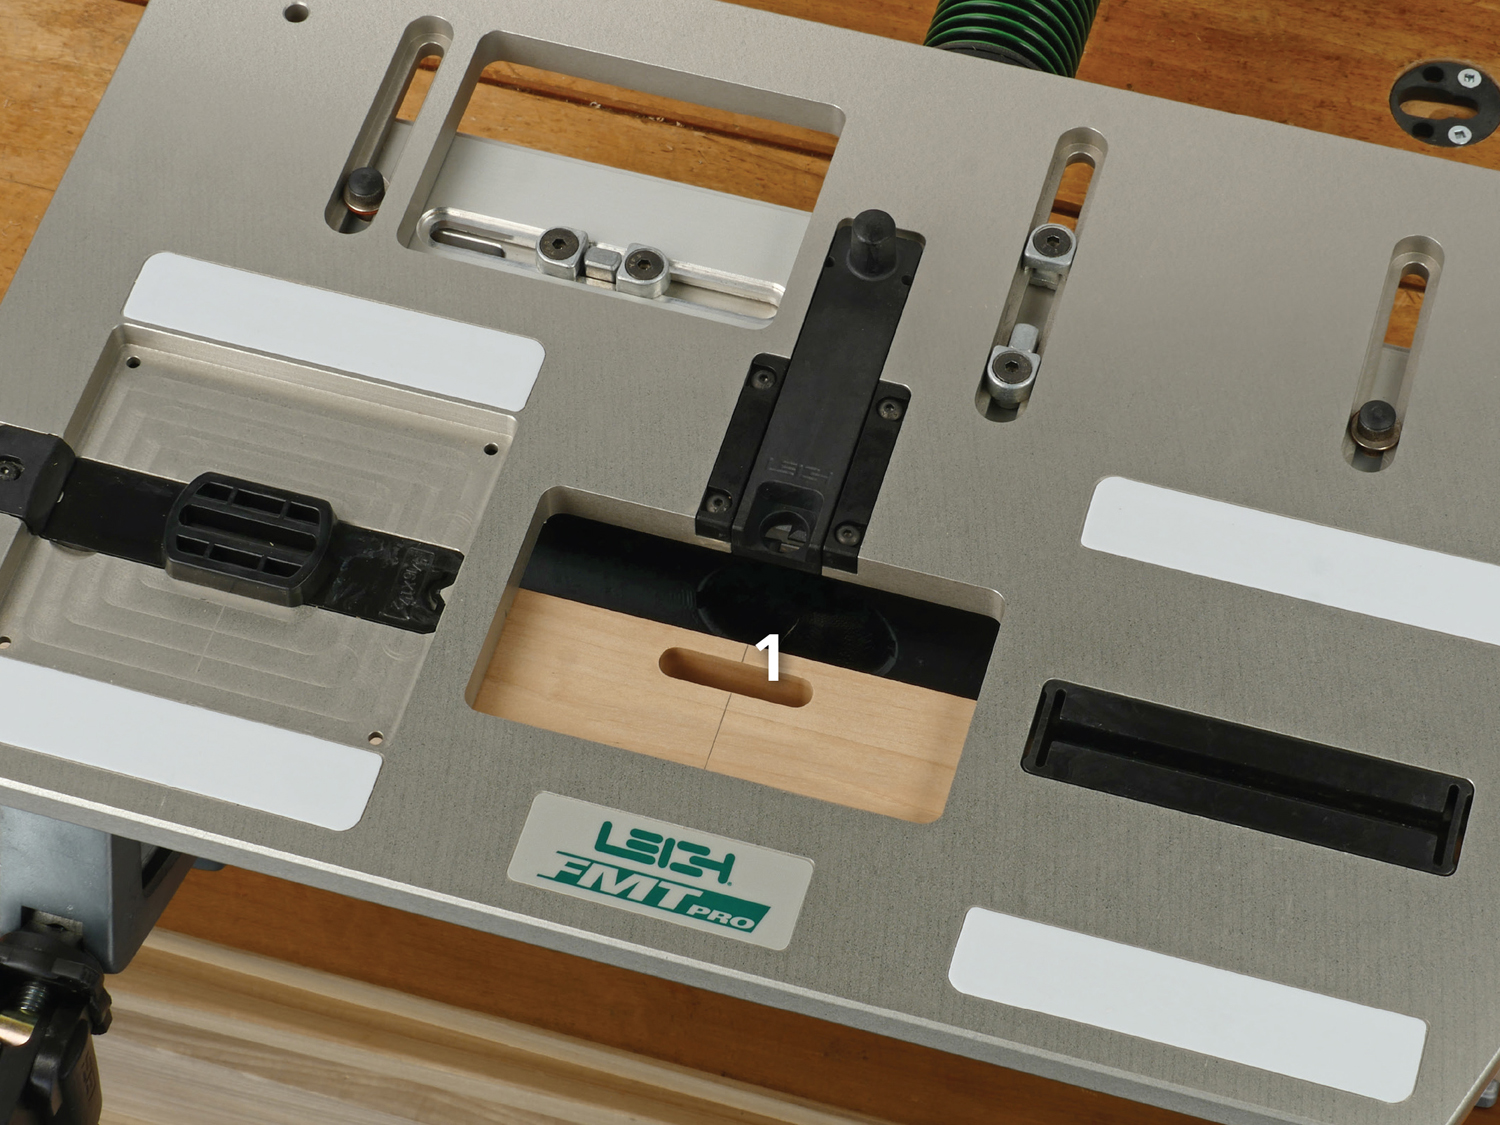
3 Rout the rear mortise in its respective table position as set earlier by the table limit stops. The limit stops allow for precise repeatable positioning of the table.
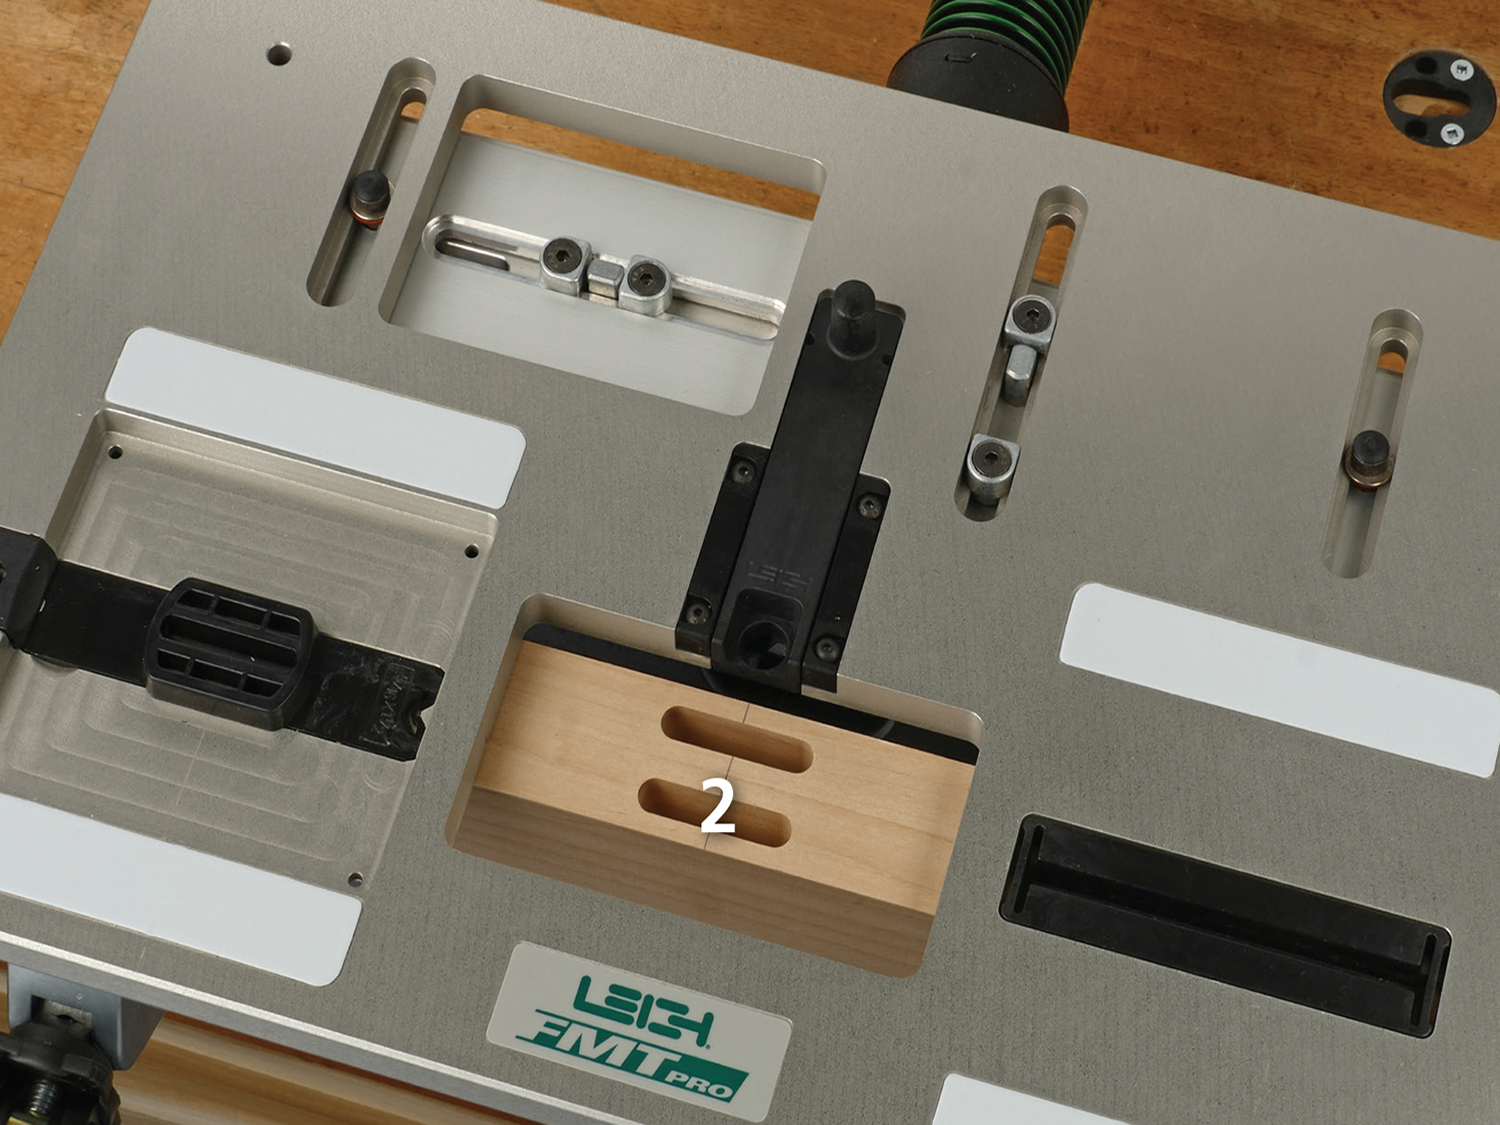
4 Rout the front mortise in its respective table position. You’re now ready to join the routed mortises and tenons together.
For more detailed instructions, see the User Guides and Bulletins on the Support page.
