How-To Videos & Instruction
Mortise & Tenon Joints:
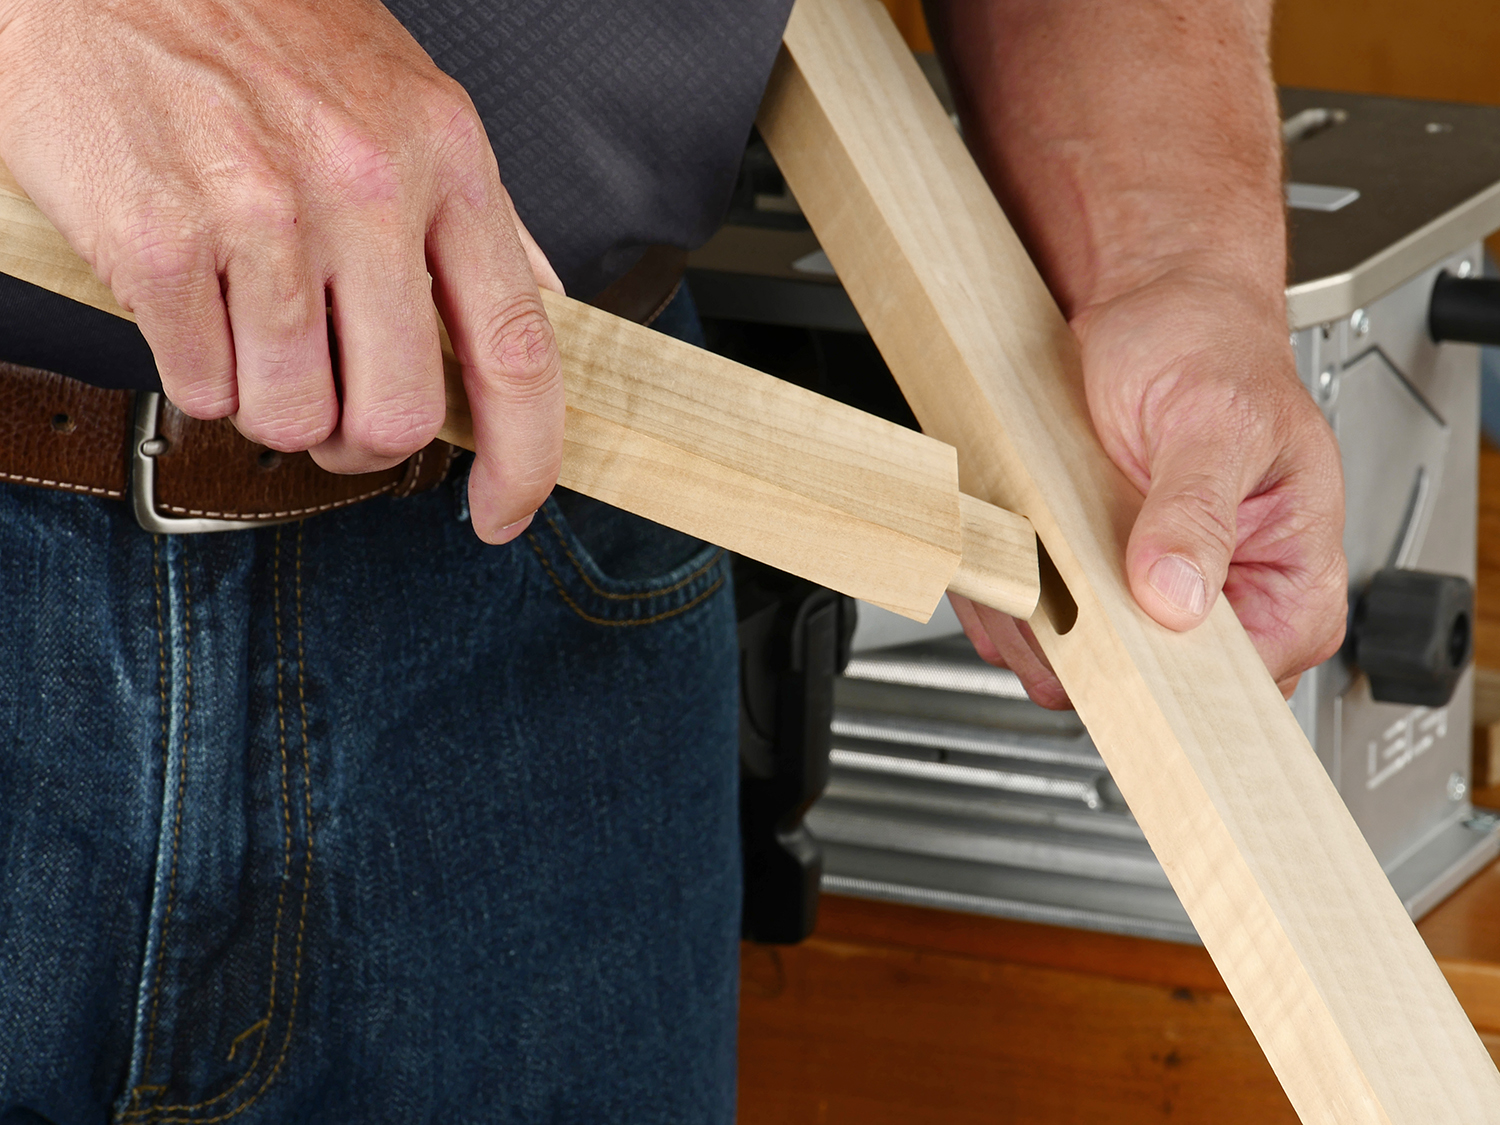
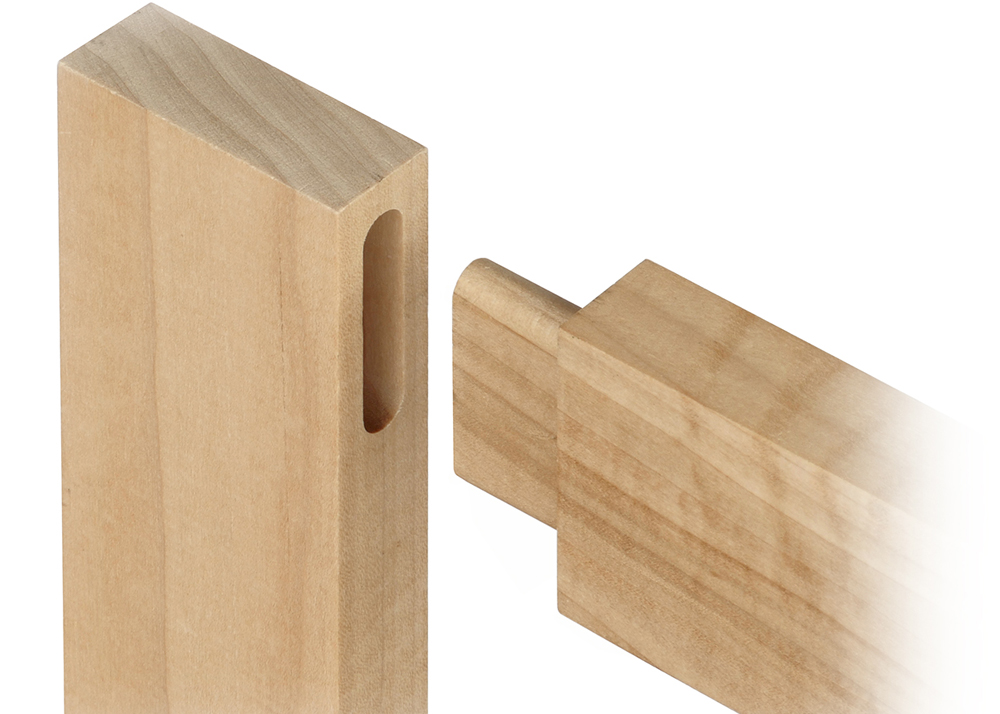
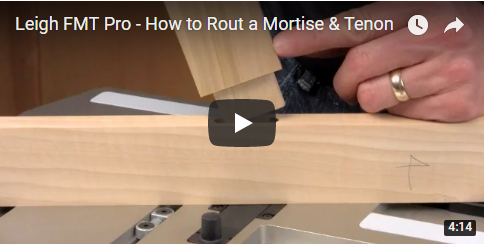
The single joint is the quickest and simplest mortise & tenon joint you can rout on the FMT Pro jig. Perfect for medium duty uses, or combined with more single joint workpieces, it’s often used in tables and chairs, chests and panel construction. Here’s how easy it is to rout a single mortise & tenon joint:
The Tenon
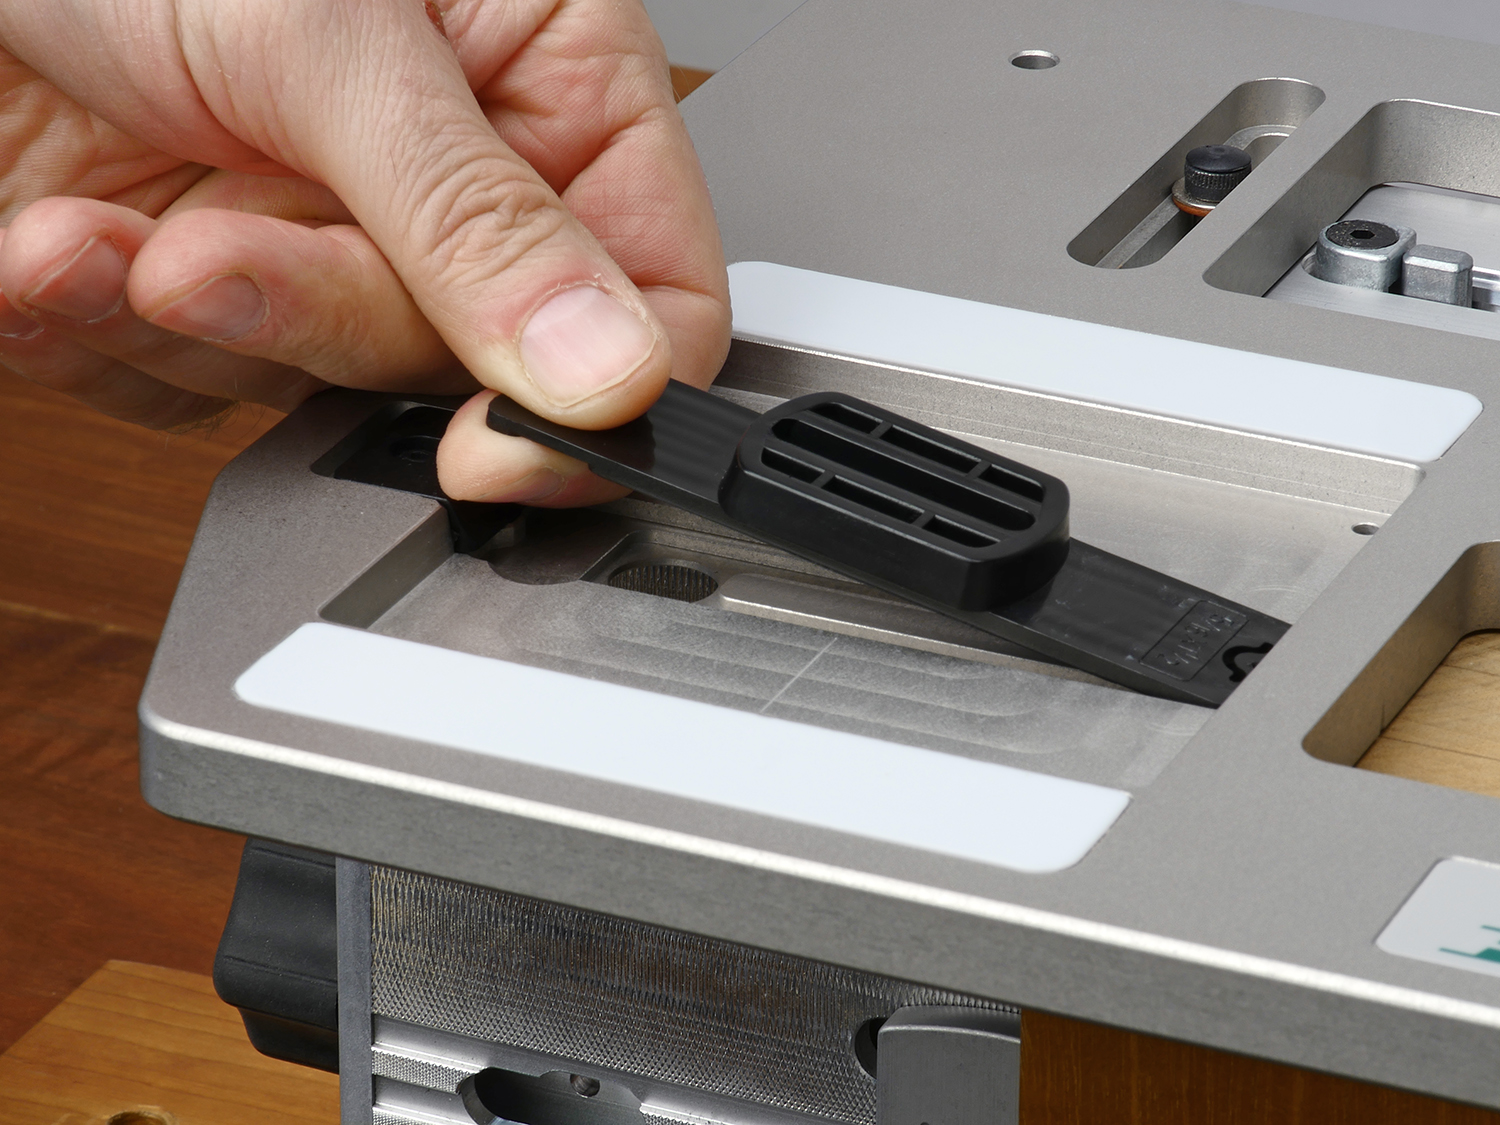
1 Select the joint guide and matching bit for the desired mortise and tenon size. Snap the guide into the table's guide recess.
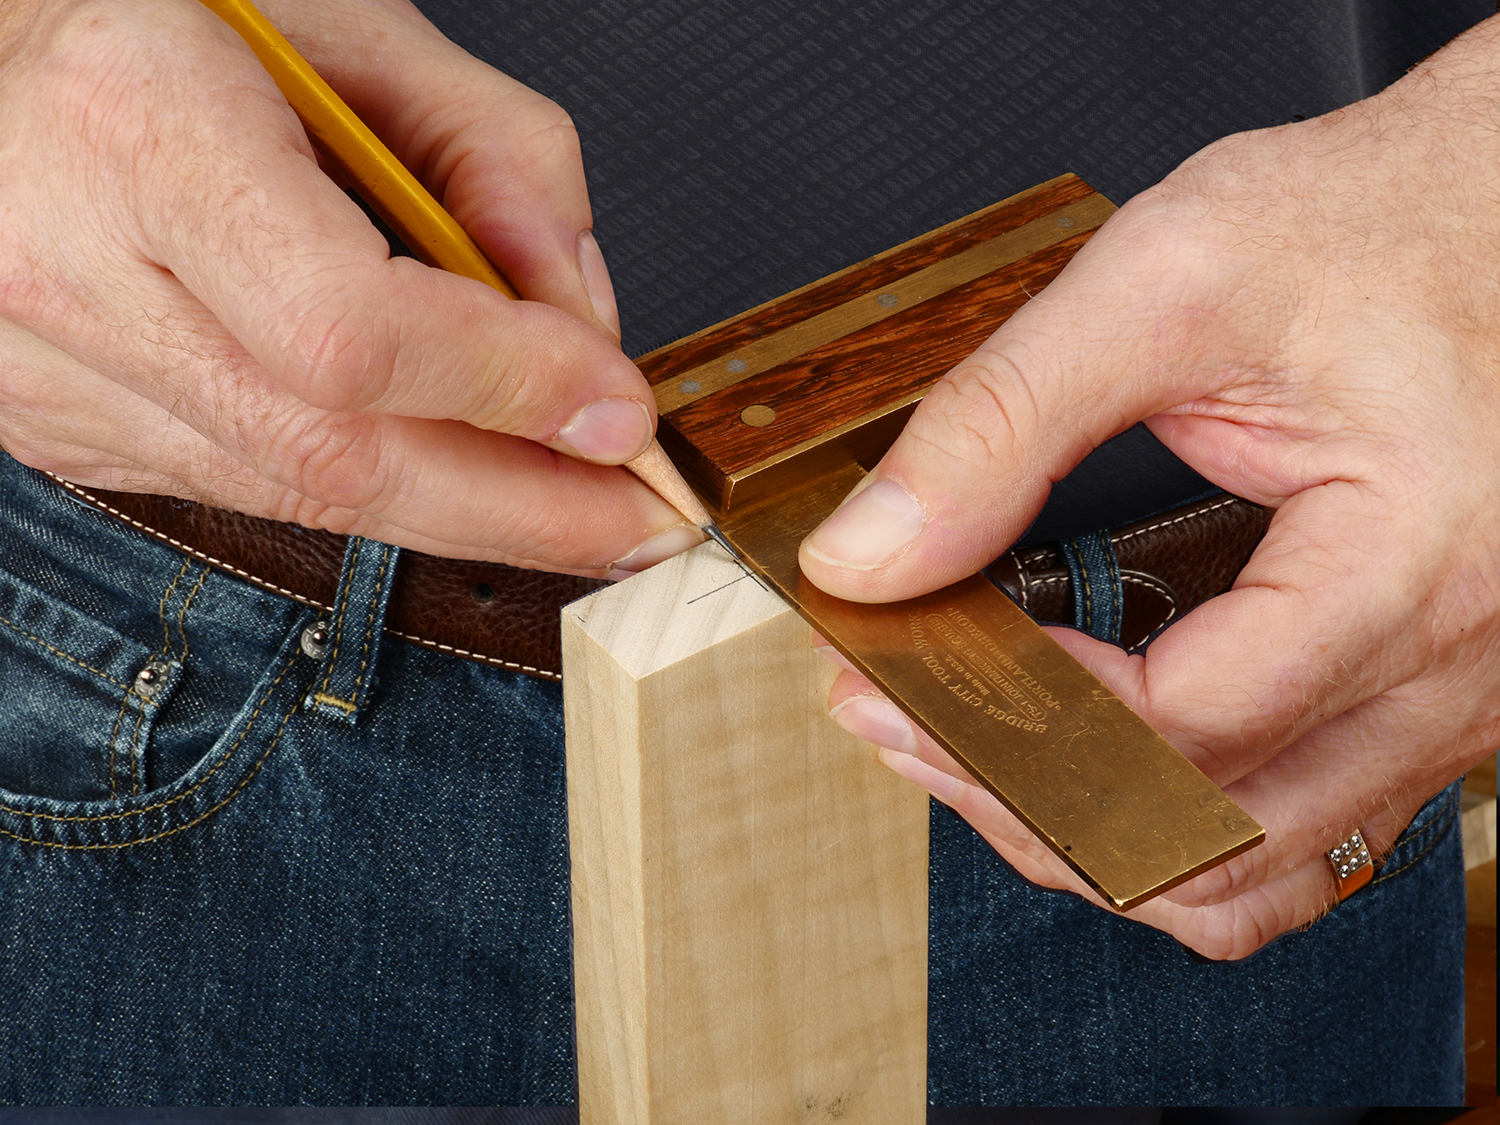
2 Mark the center of the tenon workpiece.
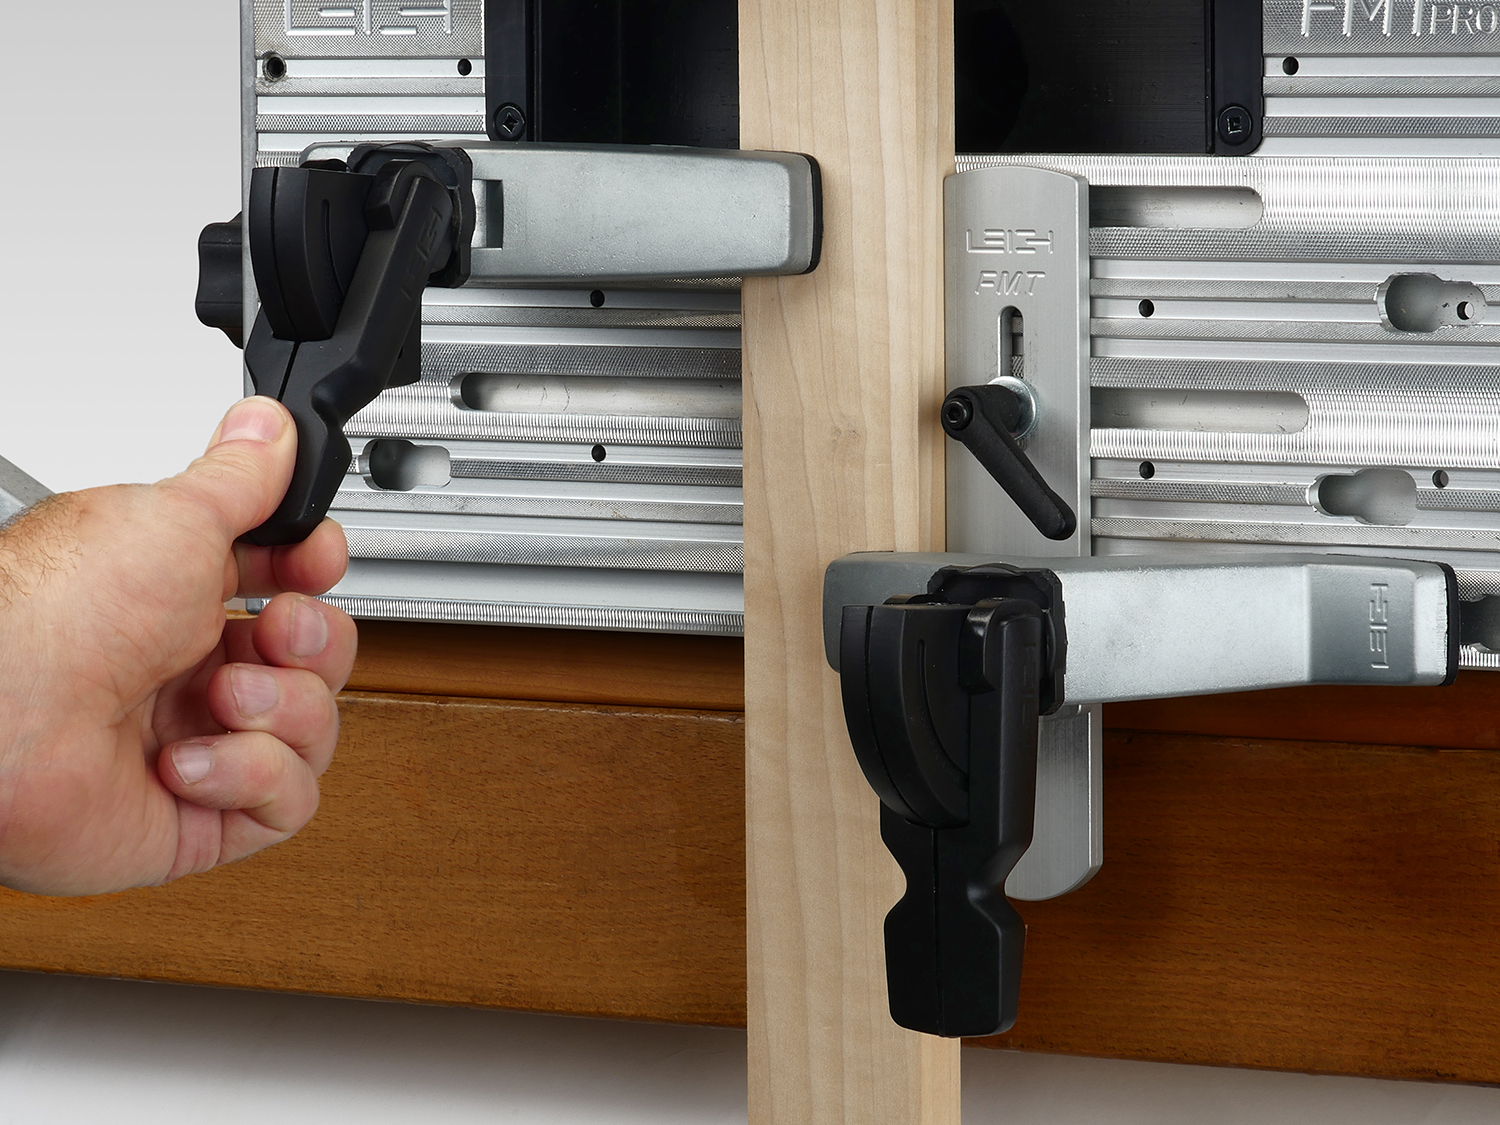
3 Clamp your workpiece against the clamp plate and side stop.
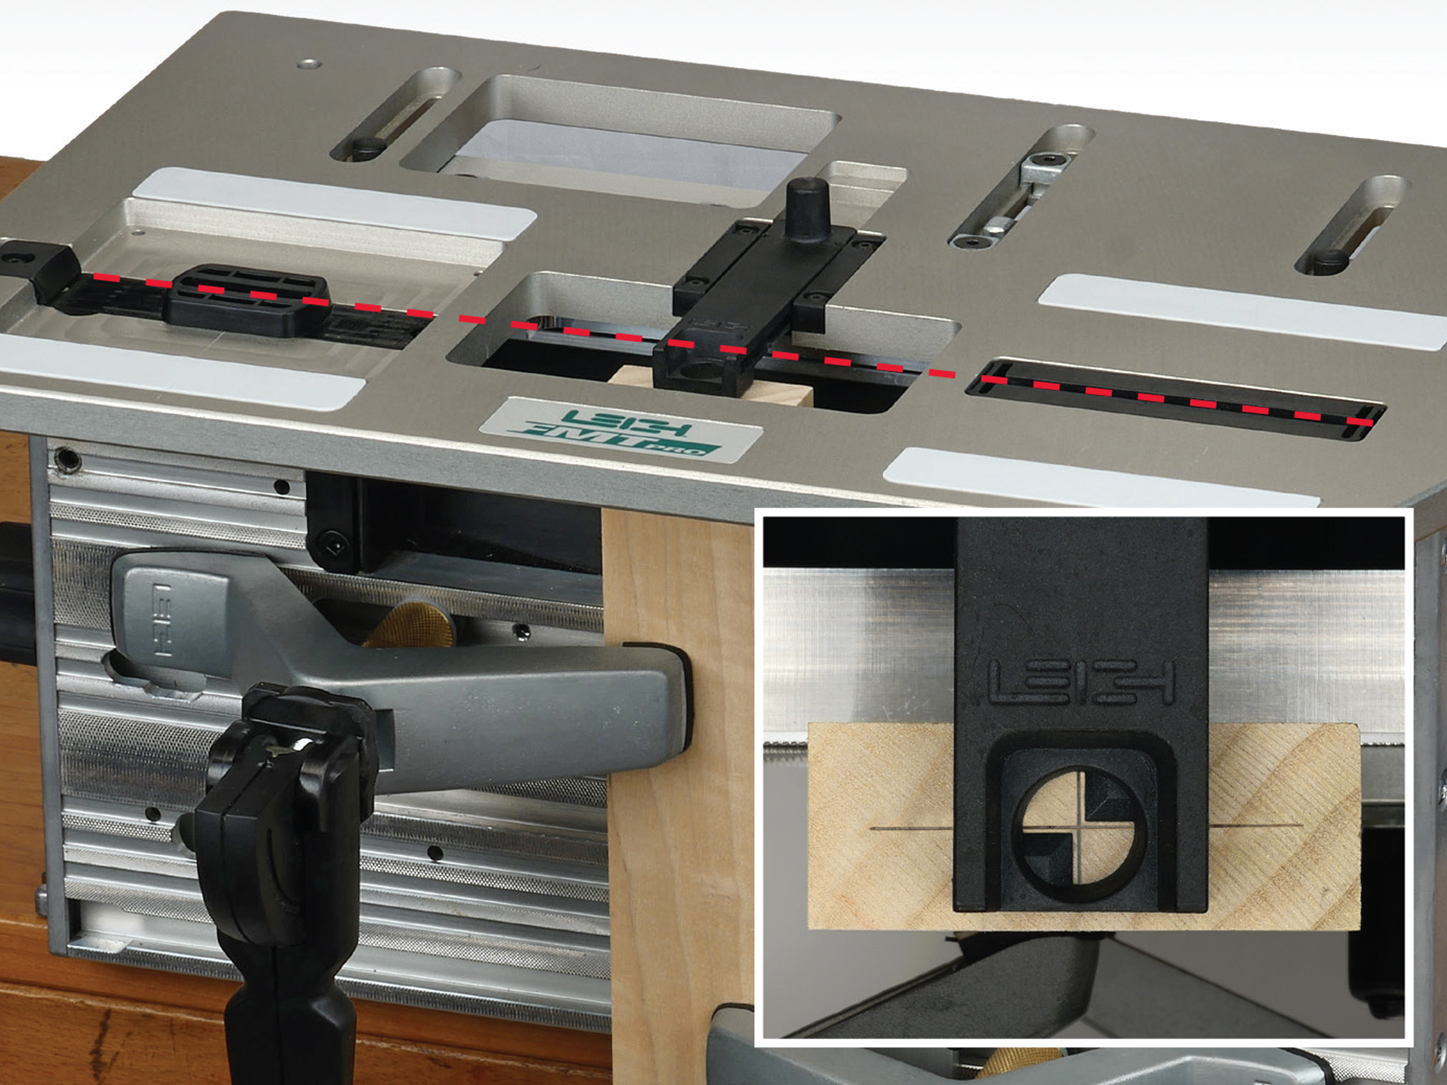
4 Move the table to position the retractable sight over the layout lines. This aligns the guide and track to the workpiece (as indicated by the dashed line in red). Lock the table.
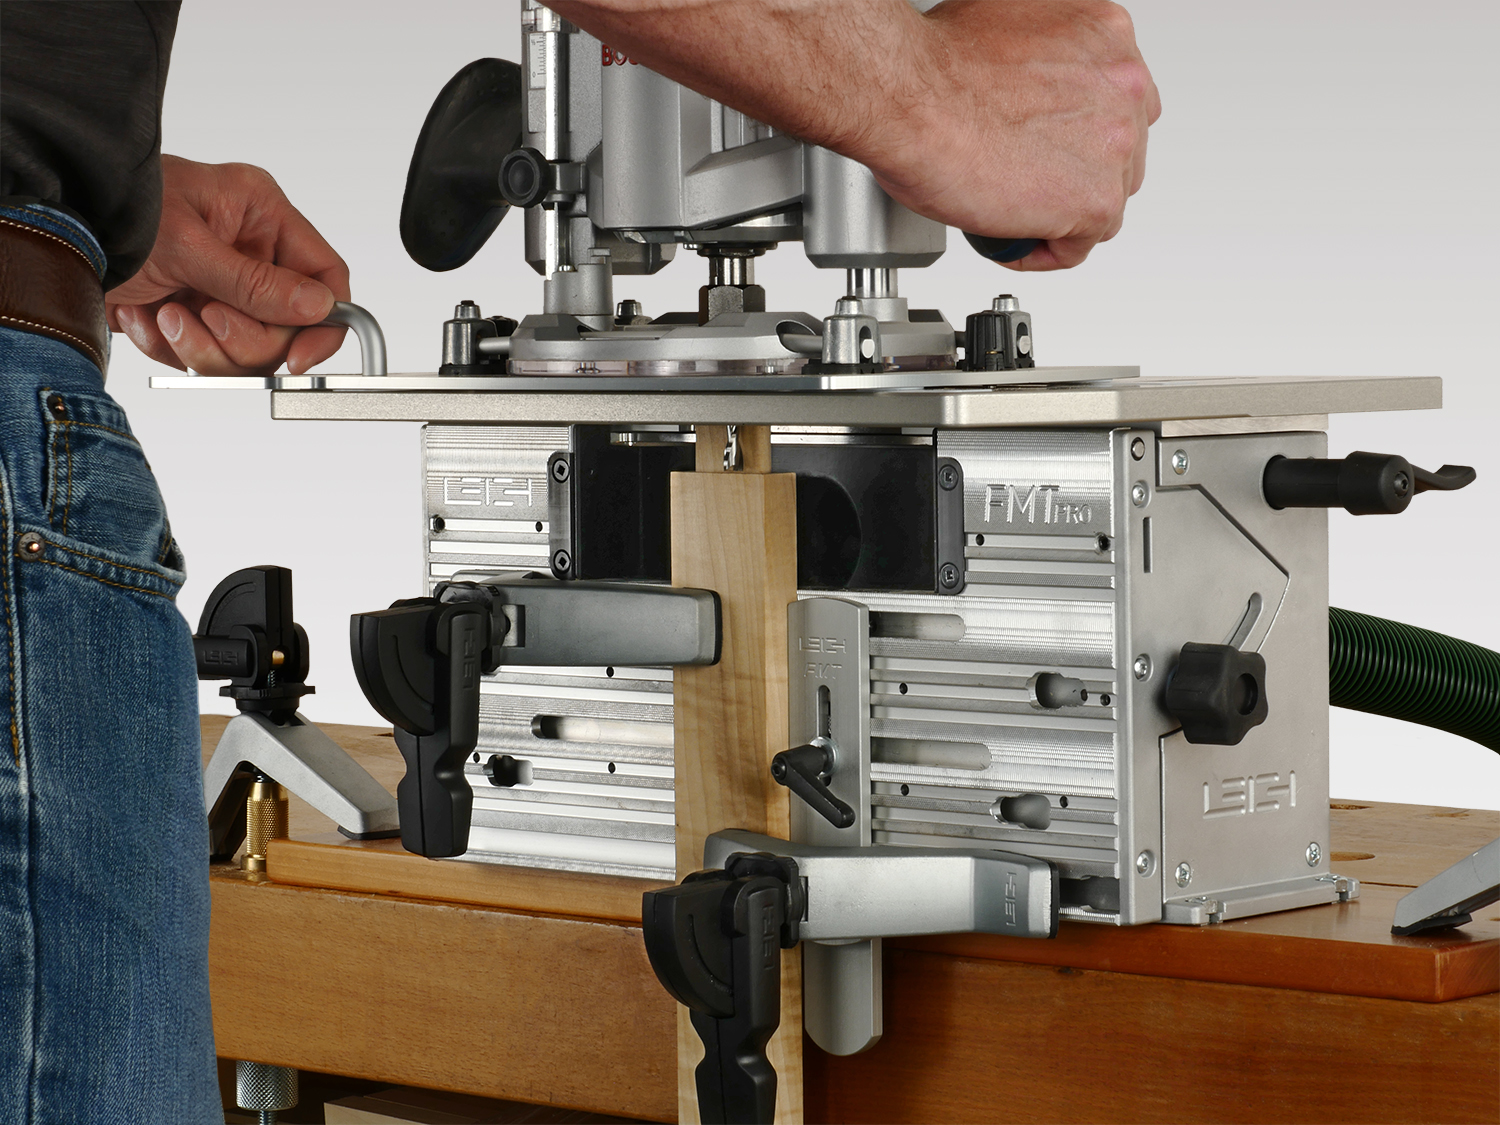
5 Place the router/sub-base on the table with the right sub-base guide pin in the right guide track and the left pin, positioned to track around the guide. Rout the tenon.
Note: Duplicate tenons may now be routed without having to mark or sight the tenons.
The Mortise
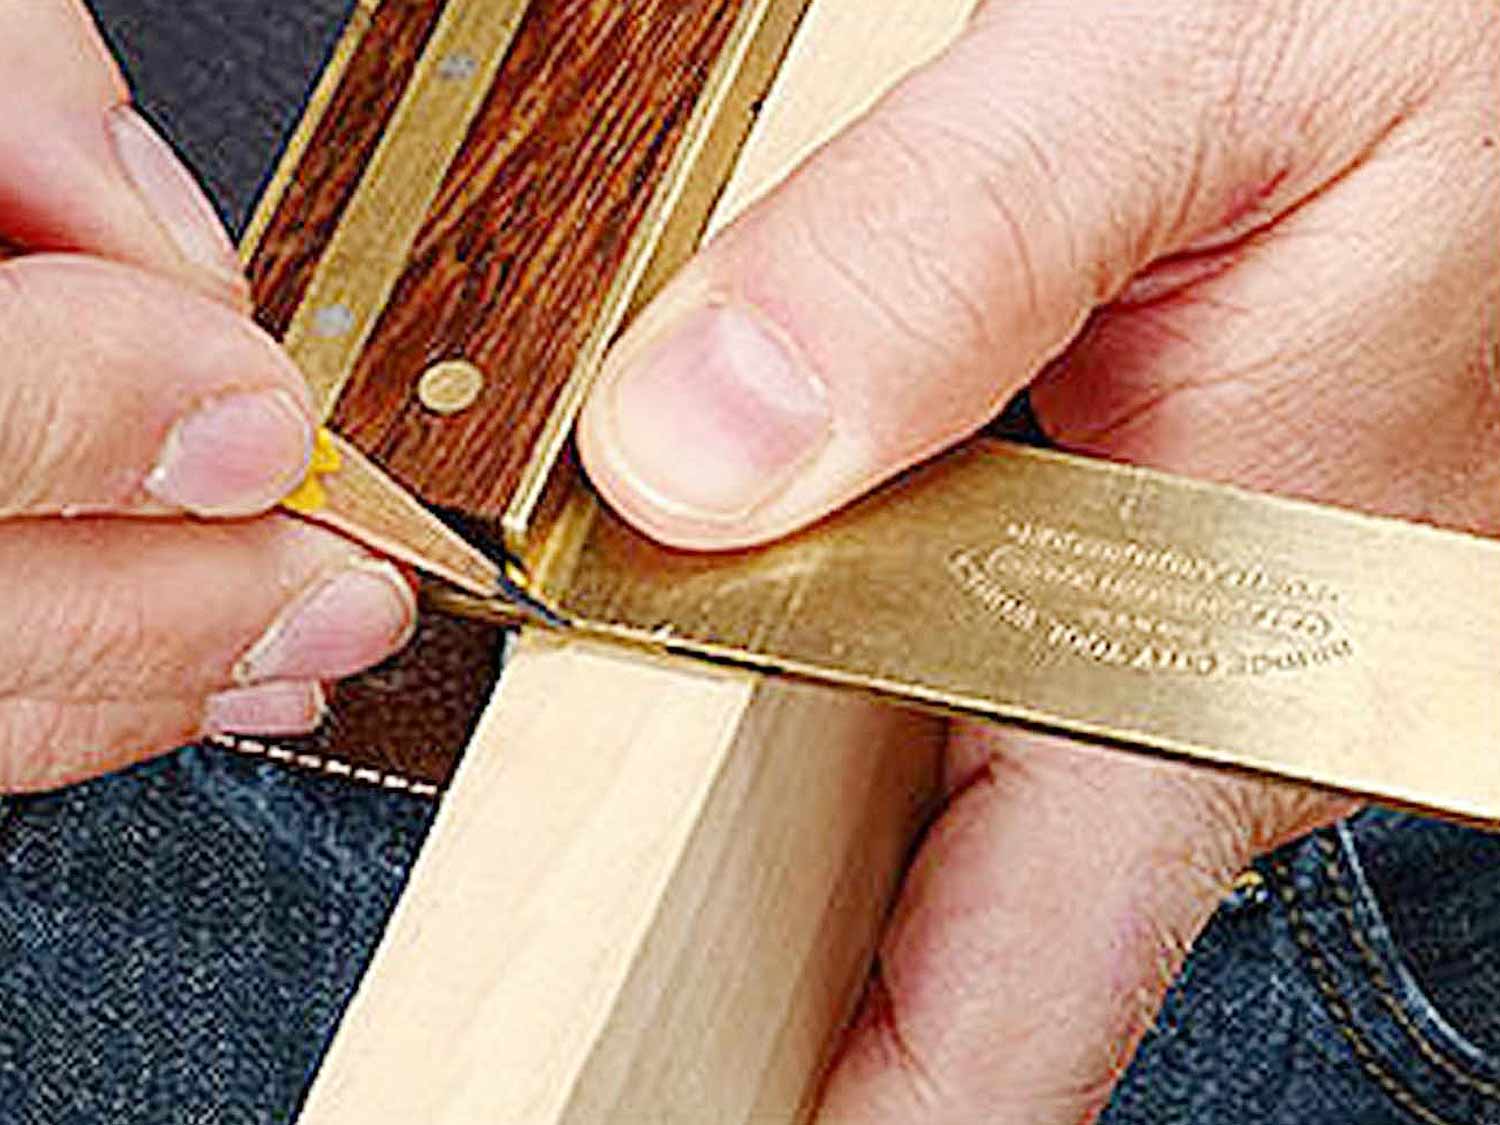
1 Mark the left-to-right mortise position on a mortise workpiece.
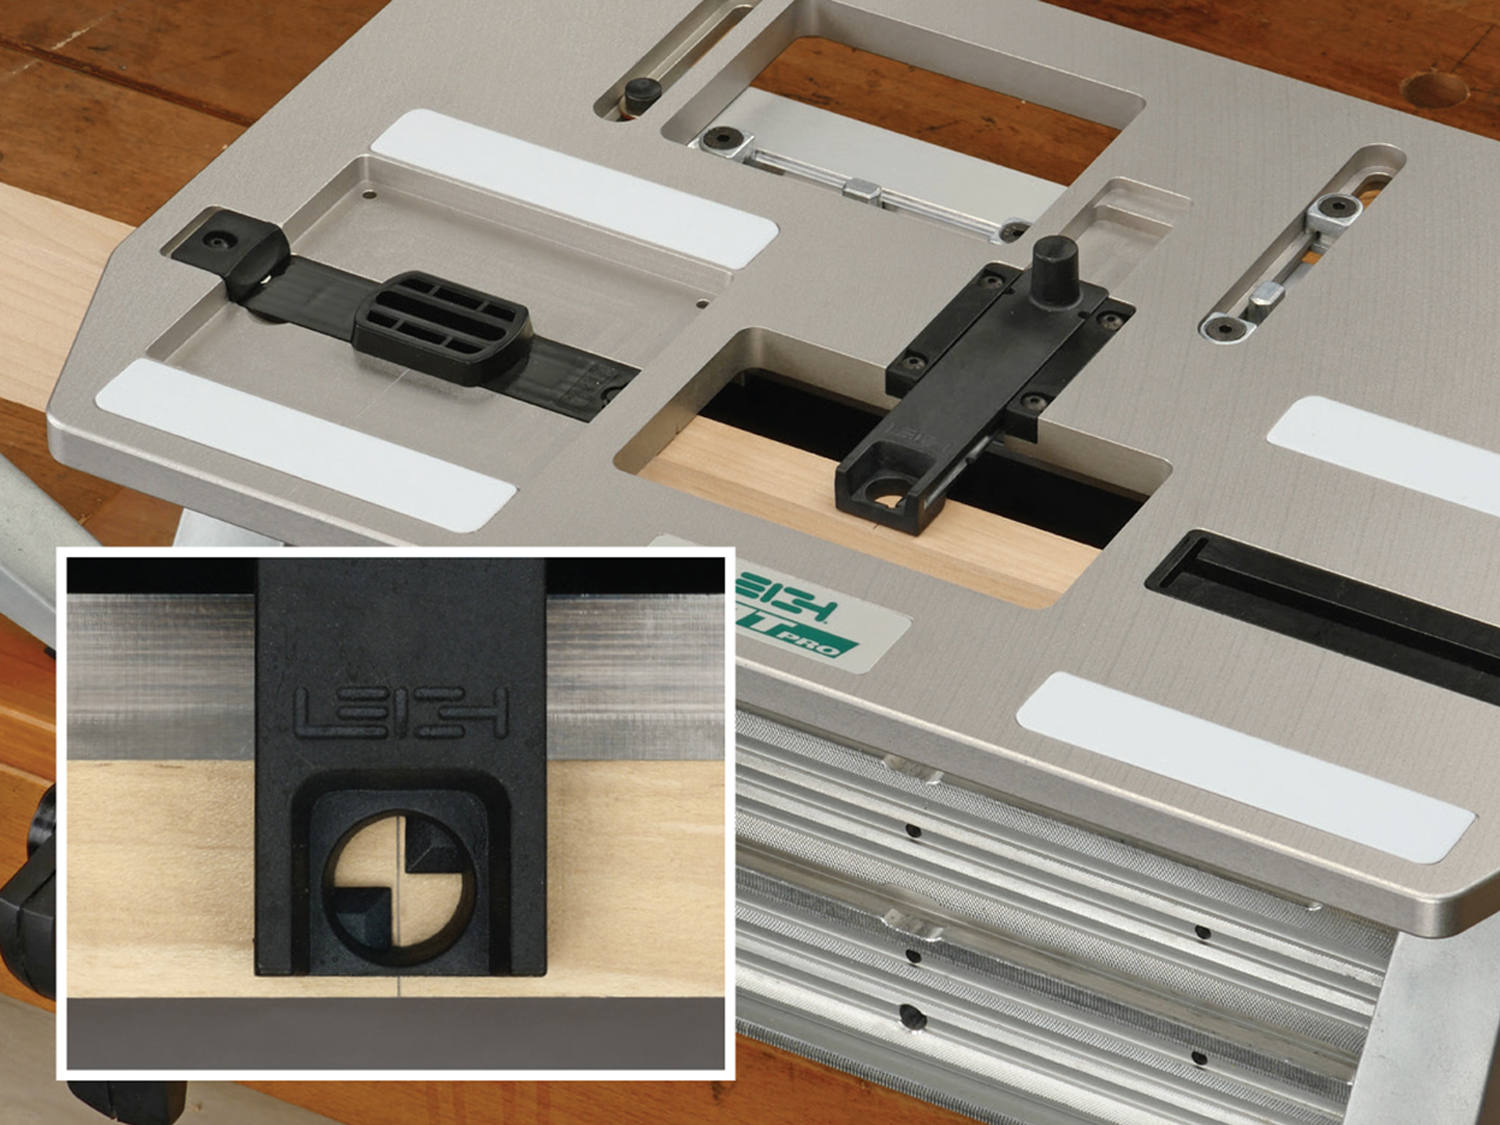
2 Remove the router and extend the sight. Clamp the mortise board to the jig with the mark aligned to the sight.
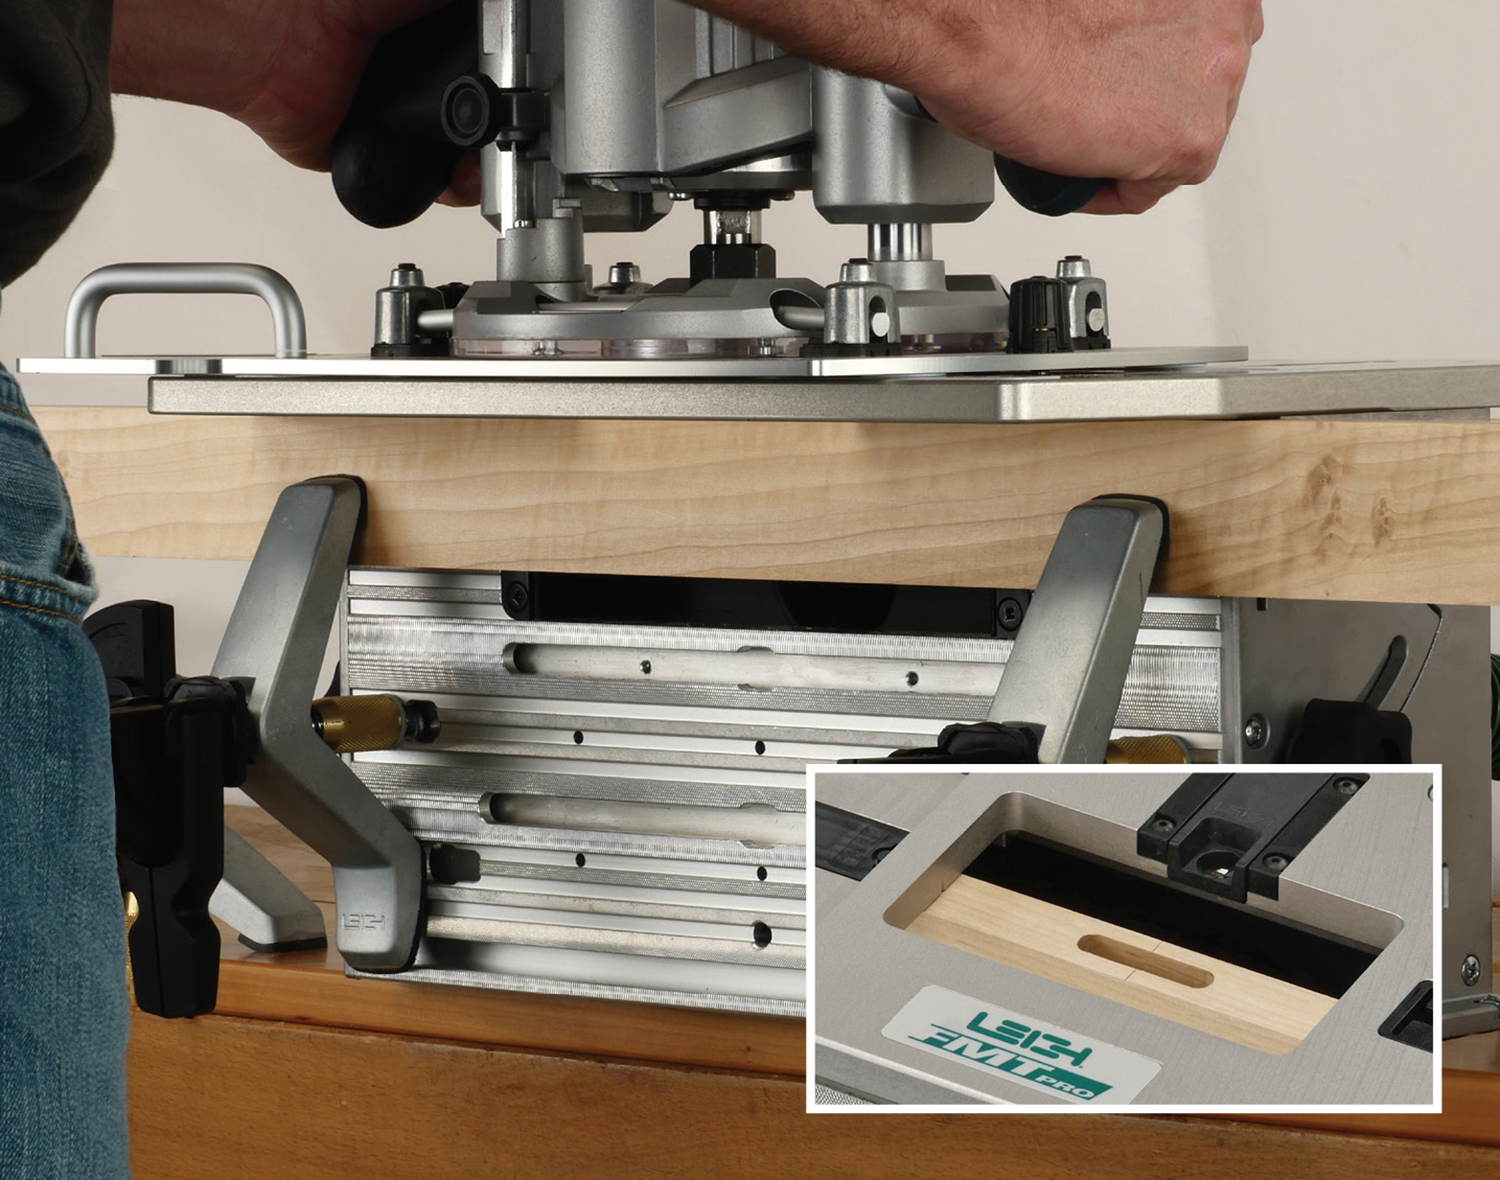
3 Place the router/sub-base on the jig table and plunge rout the mortise.
Joint Fit
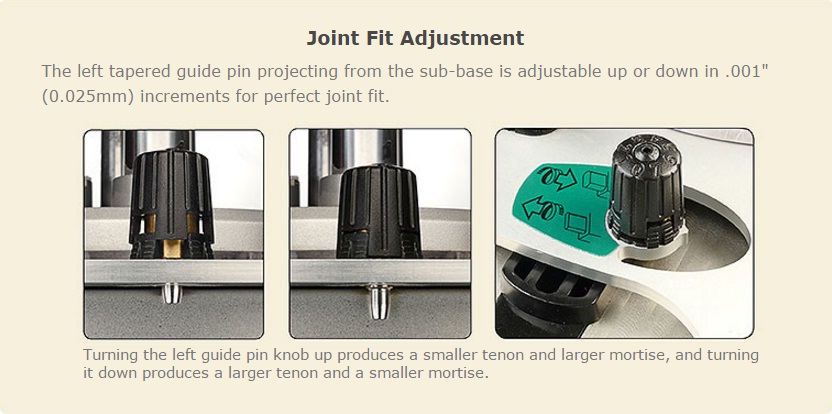
1 Fit the mortise and tenon together to check for joint fit. If necessary, adjustments can be made as indicated below.
